Graham Mayor
... helping to ease the lives of Microsoft Word users.
 |
 |
 |
Many people access the material from this web site daily. Most just take what they want and run. That's OK, provided they are not selling on the material as their own; however if your productivity gains from the material you have used, a donation from the money you have saved would help to ensure the continued availability of this resource. Click the appropriate button above to access PayPal.
Insert a batch of files into a Word document
Boiler is a template add-in for Microsoft Word to include boilerplate text(s) into Word. It was inspired many years ago by a macro produced for (I think) Word 97 by Woody Leonard, but since then much developed from that original concept.
It can be used to insert pre-prepared texts at the cursor - in much the same way that you would use autotext, autocorrect or includetext, or you can use it to combine a number of documents into one e.g. the separate chapters of a book.
The documents can be selected from different folders or from file lists stored in Excel worksheets), and the dialog will display Word compatible document files from those folders.
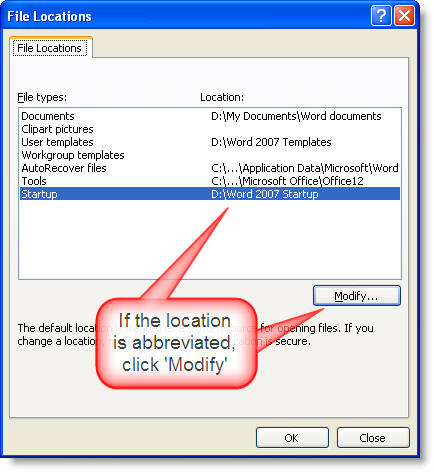
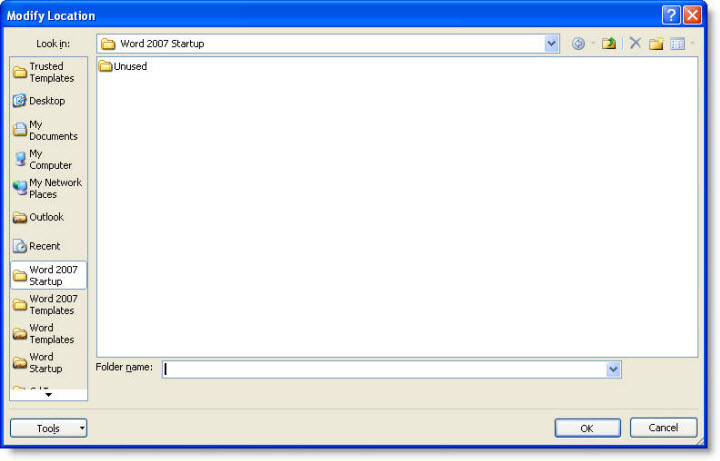
The template in the zip should be copied to the Word Startup folder, with Word closed. The folder location for the Word startup folder will vary with operating system and/or user. If you don't know the location on your machine, check Word > Tools > Options > File Locations.
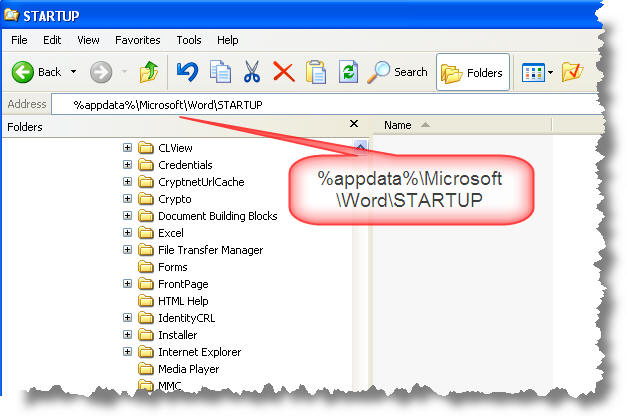
If you have not changed the default location of the Word Startup folder, it can be located (in English language versions of Windows) by typing %appdata%\Microsoft\Word\STARTUP in the address bar of Windows File Explorer.
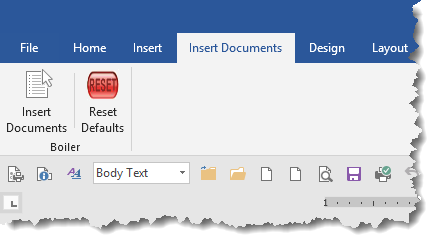
The Insert Documents command can be found in the Boiler group on the Insert Documents tab of the ribbon.
The first time the add-in is used and subsequently controlled by a check box on the main dialog, the disclaimer form below is displayed.
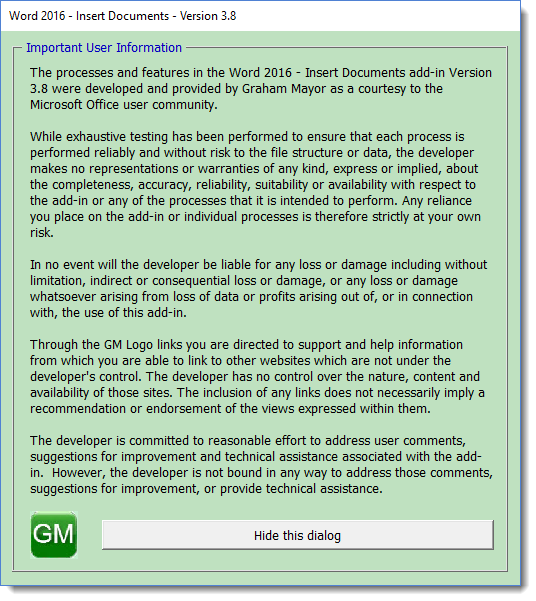
The main dialog looks complicated (more complex than earlier versions) but the buttons are self evident and there is built-in context sensitive help available by clicking one or other of the blue question mark buttons.
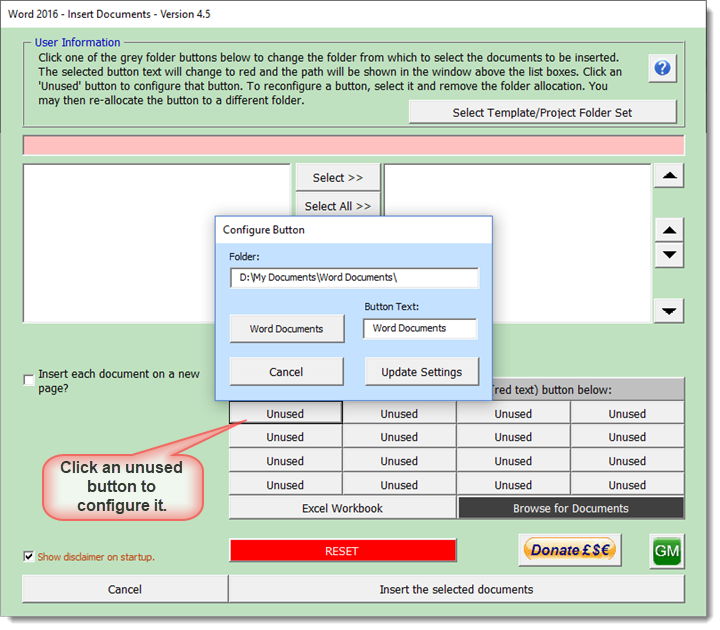
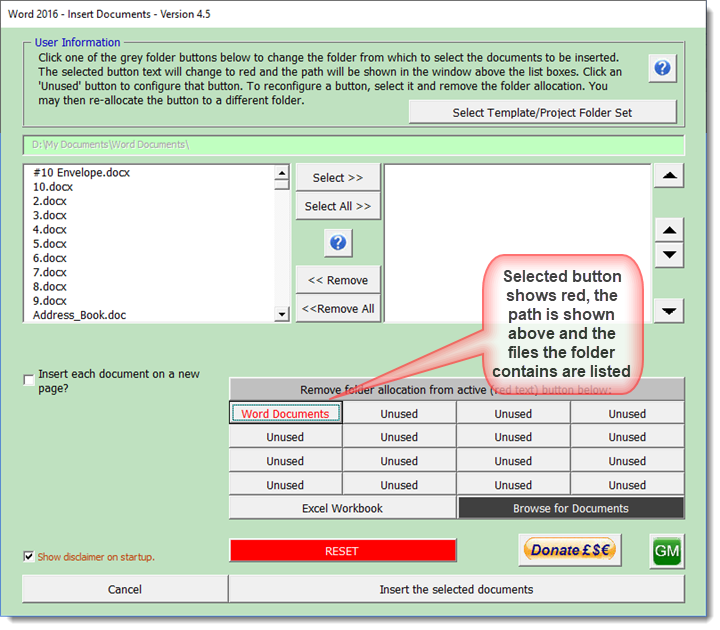
The folder and Excel buttons may all be configured from this dialog either by clicking an 'Unused' button or by selecting a used button and clicking the 'remove folder allocation' button which will make it unused and available to be re-assigned. There is even a browse button for ad hoc selections.
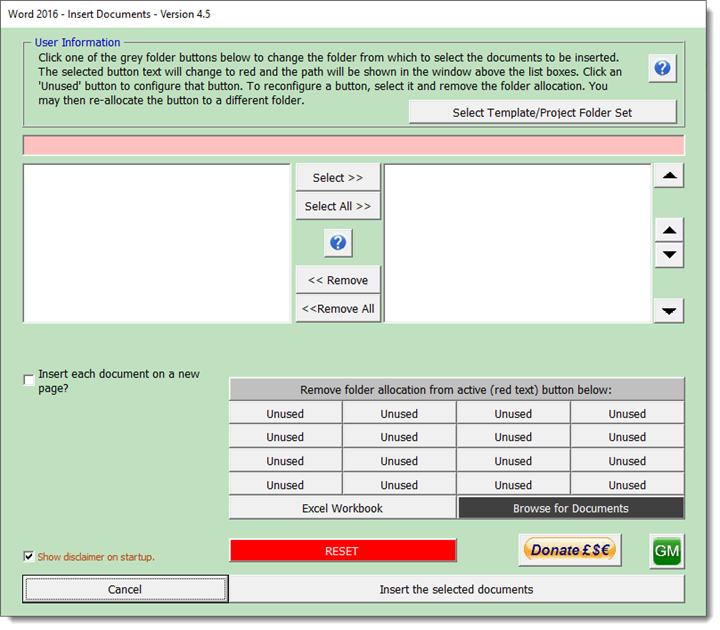
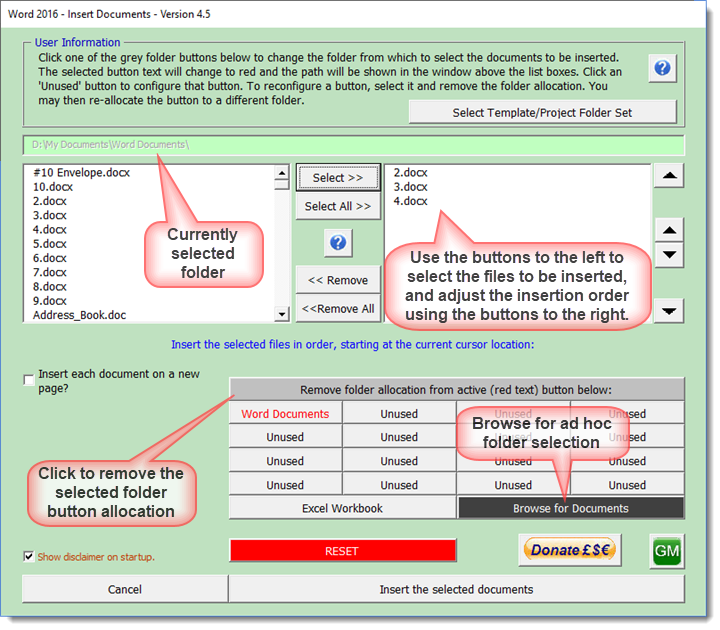
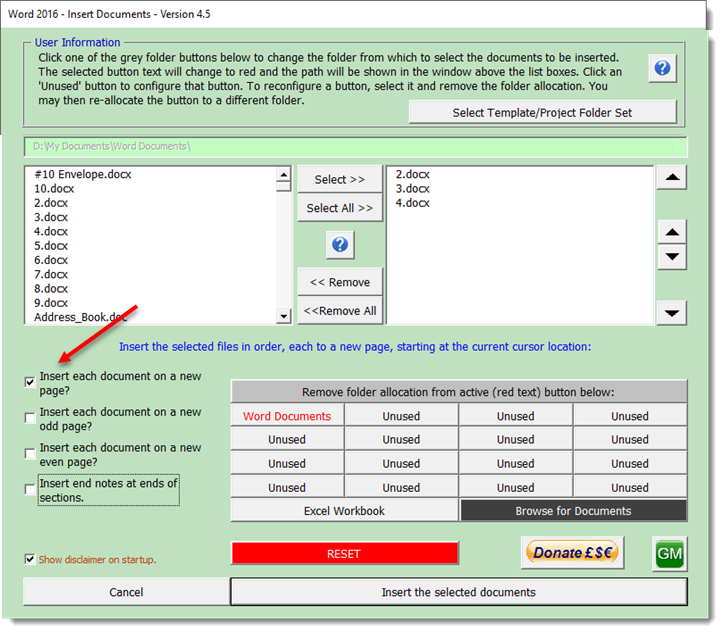
Documents may be inserted one after the other or may be started each to a new page. When the new page option is selected, additional options are provided
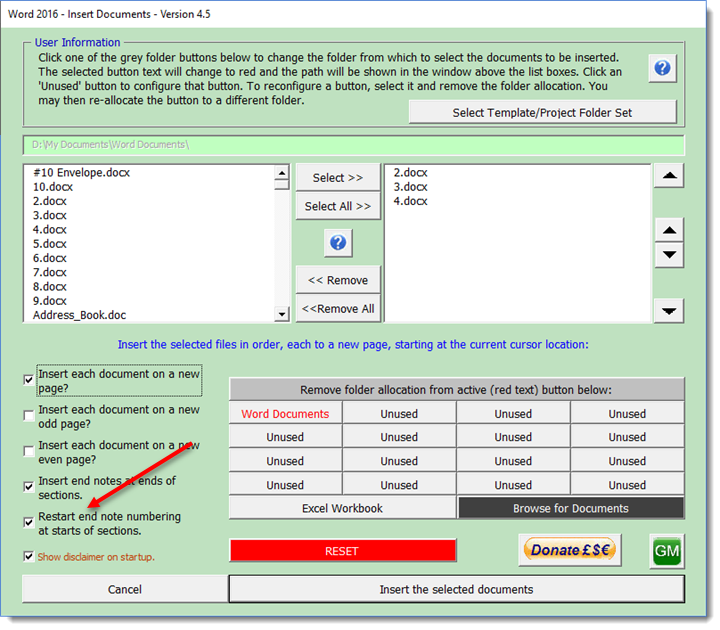
Where end notes are use in the documents, you may choose whether to have them at the ends of the inserted document or at the end of the combined document. In the case of the former, the numbers may be restarted at each document or continue in sequence throughout the combined document.
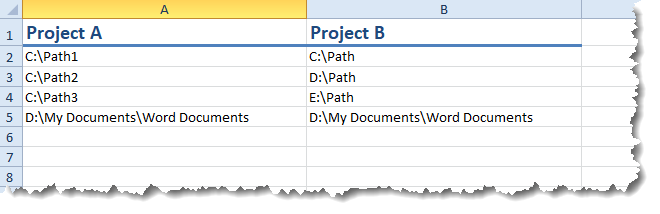
Excel workbooks for use with this function must have the default worksheet name 'Sheet1'. The first column must have a header in row 1 the document names in column 1 and their paths in column 2

The dialog only displays the filenames.
Inappropriate worksheet formats are trapped and an error message will be displayed.
The files and folders listed in the
worksheet must exist and be accessible to the process. If
any of the files are missing the process will stop and an
error message displayed.
The workbook should be saved and closed before use.
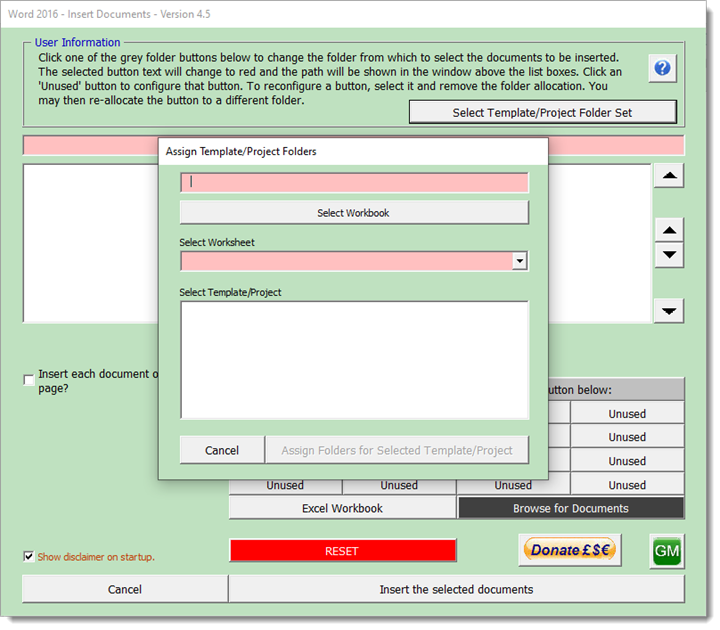
Template/Project Folder Sets
An additional option was added in version 4.4 (unpublished, but updated in 4.5) and that was a facility to select a batch of folders associated with a particular document template or project. For example it could be used for a client's document folders.
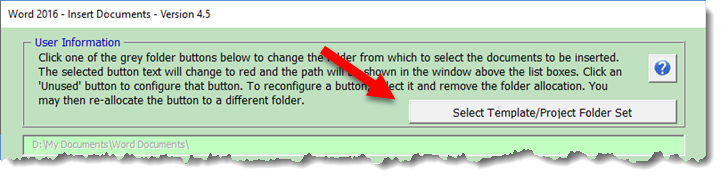
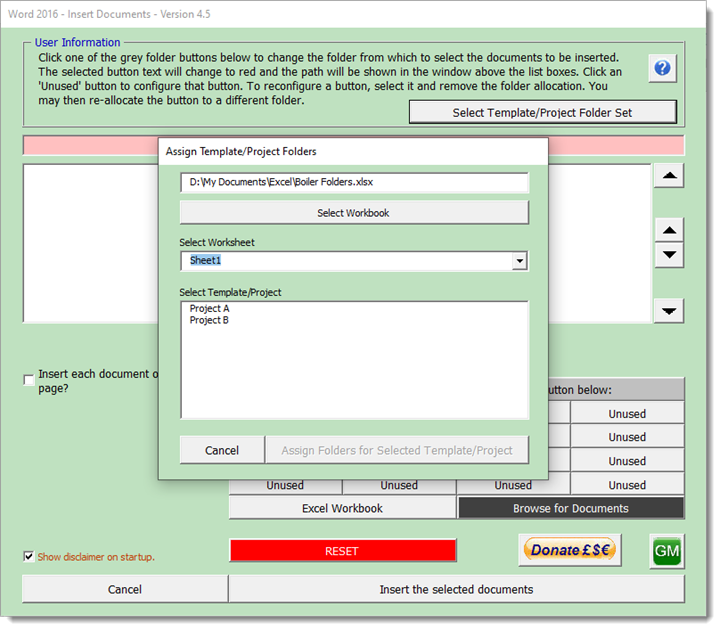
The button allows the selection of a workbook which contains a worksheet with a header row and as many columns as there are folder sets. The header row describes the project, the client or the template as appropriate and when the project is selected from the dialog below the folder buttons are filled with the entries from the worksheet, which are named Folder A to Folder P if the full complement of folders is filled in the worksheet.
Do not leave empty cells in the columns!
If any of the listed paths no longer exist then the button associated with that path is not completed and remains labelled 'Unused'. Any button that is unused can be reallocated either by selecting it and completing the dialog as described earlier, or by correcting the worksheet to make it valid and apply it again.
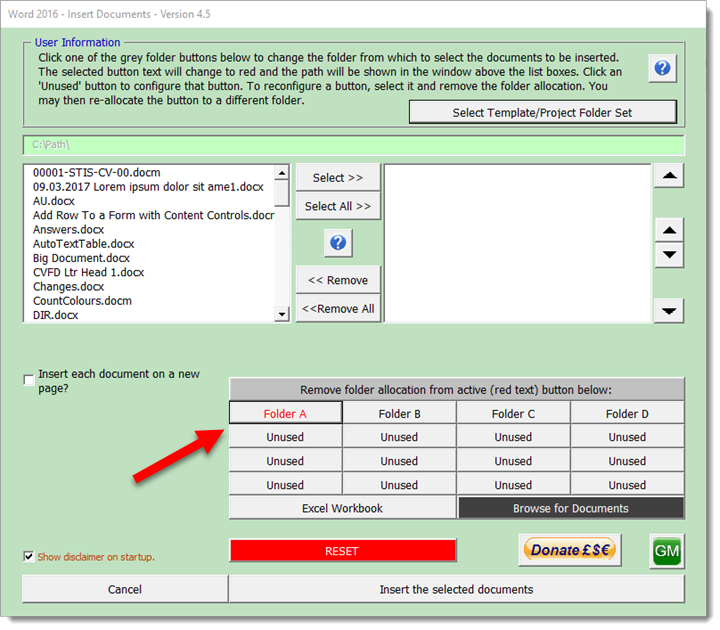
If a named button is clicked (whether manually named or named from a worksheet) and there are no document files in that folder, the process provides an option to remove the allocation from that button.
All buttons and dialogs are stored between uses.
Because of the way Word formats documents, the function works best when all the inserted documents are based on the same template. There will inevitably be some formatting issues if the inserted documents use the same style names to produce different layouts.
To help minimise some of the issues that may occur, check the 'Insert each document on a new page' check box when inserting batches of documents. This inserts a new page section break between each document. Selecting this option provides two further options to enable that new page section break to be an odd or even page break.
It is not the perfect solution, but it is as good as you are likely to get when working with disparate document types.
 -
Click here to download the add-in
-
Click here to download the add-in
'Boiler'
Whilst preparing the 'Print a batch of files' page which draws much from the 'boiler' add-in that has been a downloadable file from this site for several years, I realised that I had not created a separate page referring to that add-in. This page now corrects that omission.
Note that illustrations here may not accurately reflect the latest version of the add-in, however where differences are significant, the illustrations have been updated.