Graham Mayor
... helping to ease the lives of Microsoft Word users.
 |
 |
 |
Many people access the material from this web site daily. Most just take what they want and run. That's OK, provided they are not selling on the material as their own; however if your productivity gains from the material you have used, a donation from the money you have saved would help to ensure the continued availability of this resource. Click the appropriate button above to access PayPal.
Create a valid digital certificate with SELFCERT.EXE
Having recently setup a new PC with Windows 10, I wanted to use an existing backup of my Outlook data file and more importantly the macro project that I had developed, with Outlook 2016.
To run macros in Outlook and maintain the security Office applications provide against malicious code, it is necessary to digitally sign the VBAProject.OTM from the VBA editor > Tools > Digital Signature.
Office comes with a utility to create a self-signed digital certificate that you can employ on the PC to sign your projects. This utility SELFCERT.EXE is to be found in the Office program folder, which for Outlook 2016 is C:\Program Files (x86)\Microsoft Office\root\Office16.
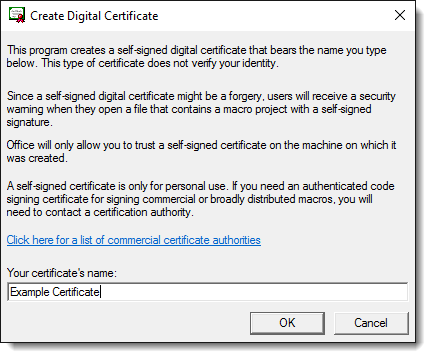
Double click the file with Windows File Explorer, to open the certificate 'wizard'. In the following dialog enter a suitable name for the certificate and click OK:
If all goes well you will see a confirmation:
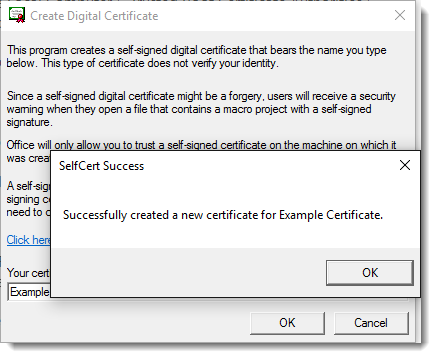
You can now close the SELFCERT wizard and turn your attention to the certificate you have created.
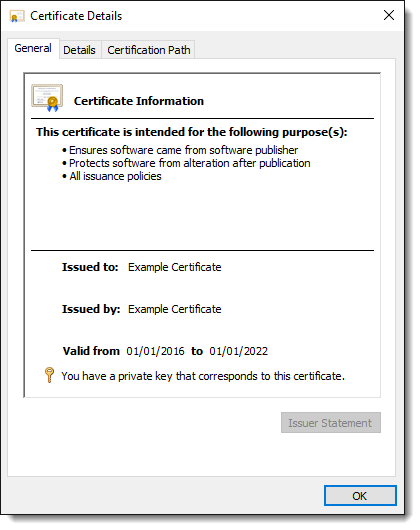
If you try to employ the certificate you have just created and you check its properties
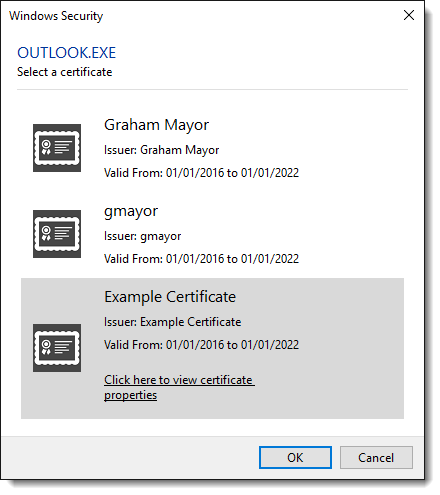
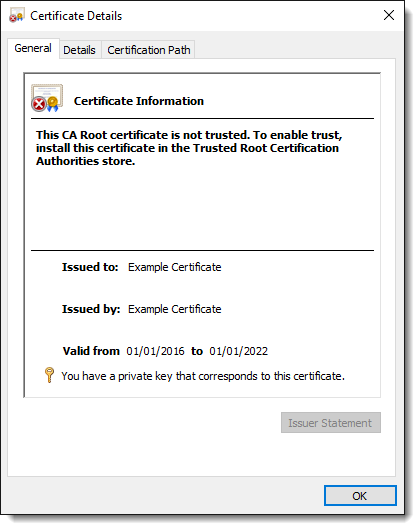
You will see that the certificate is not trusted and the reason is indicated in the dialog.
The certificate has been created in the Current User > Personal > Certificates store. It needs to go in the Local Computer > Trusted Root Certificate Authorities > Certificates store, so you need to export from the former and import to the latter.
None of the on line references I have seen have been partricularly clear how to do this, hence the reason for this web page.
Start by pressing the Windows Key+r which will open the 'Run' applet. Enter 'mmc' in the window as shown below and click 'OK '.

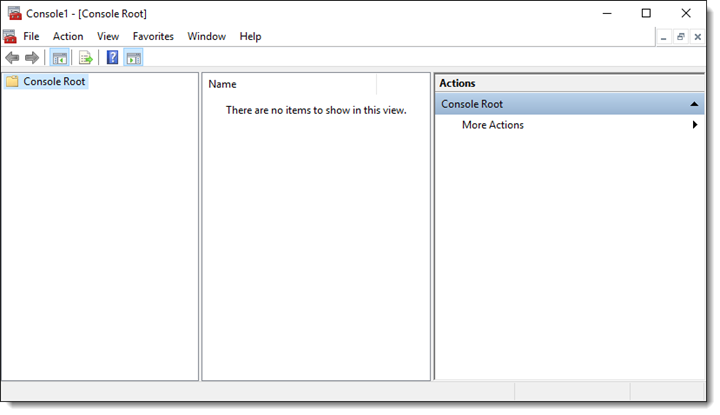
The Microsoft Management Console will open and look like the following.
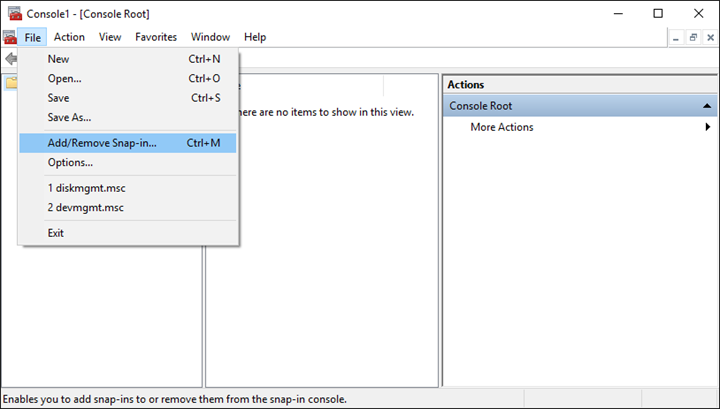
From the 'File' menu, select Add/Remove Snap-in...'
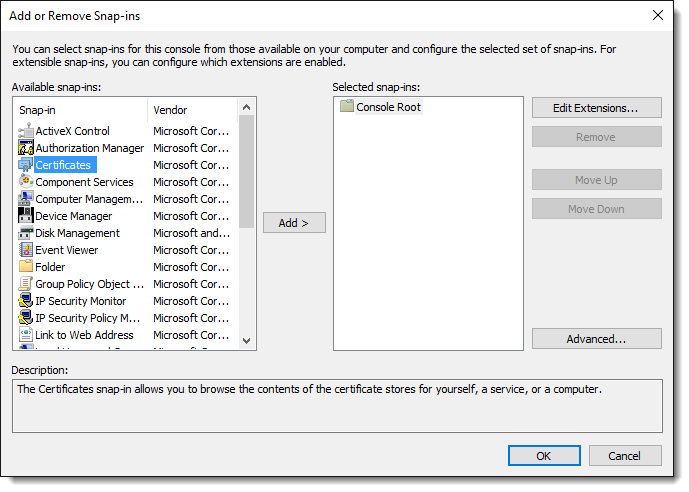
and from the ensuing dialog, double click 'Certificates'.
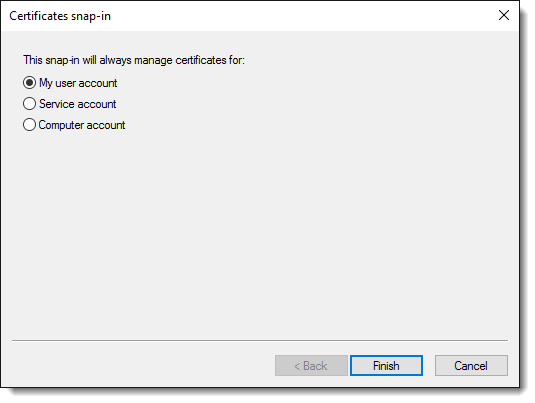
This will open a further prompt screen, from which you must first select 'My User Account' then click 'Finish'
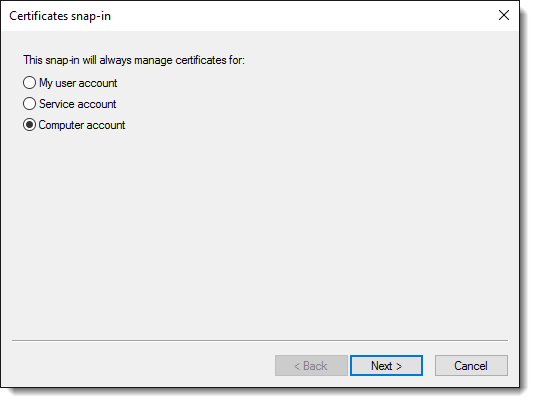
Repeat the previous process and this time select 'Computer Account' and again click 'Finish'.
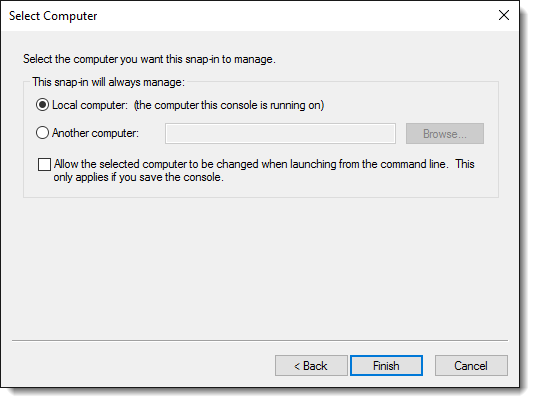
This option produces the second dialog shown below. Select 'Local Computer' and click 'Finish'.
Focus will return to the Management Console, which, if you have followed so far, should now look like the following:
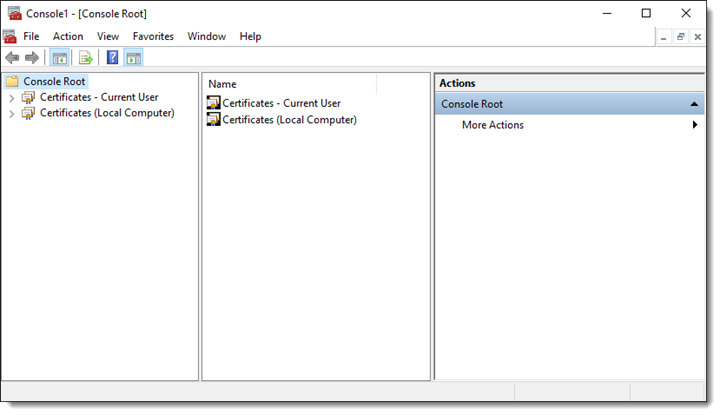
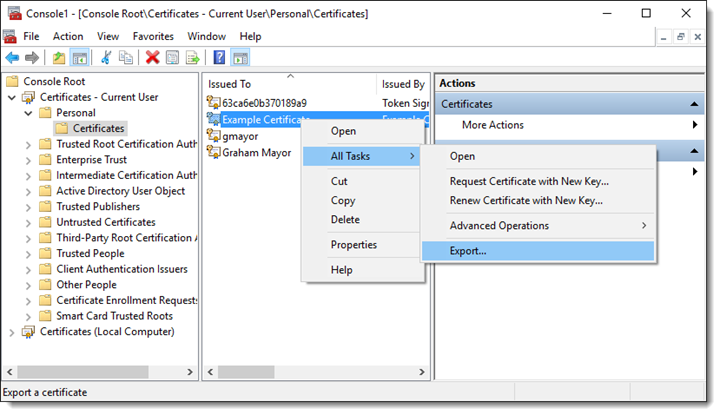
Expand the dropdown in the left window for 'Certificates - Current User' and select certificates as shown below. The centre panel will then show the certificates in that location, which will include the certificate you created earlier:

Export the certificate to a file
Right click the certificate and select All Tasks > Export:
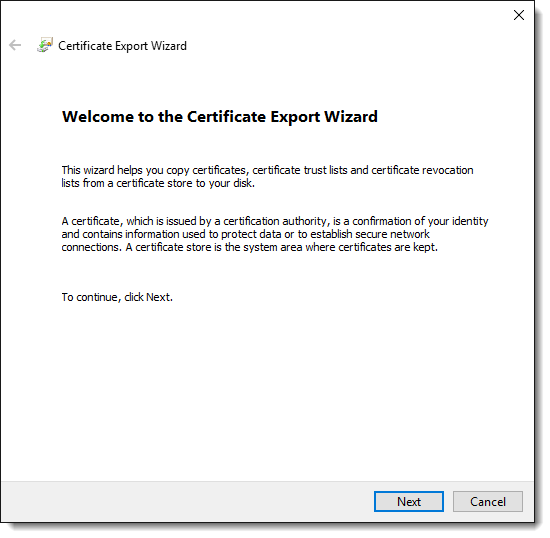
Click 'Next'
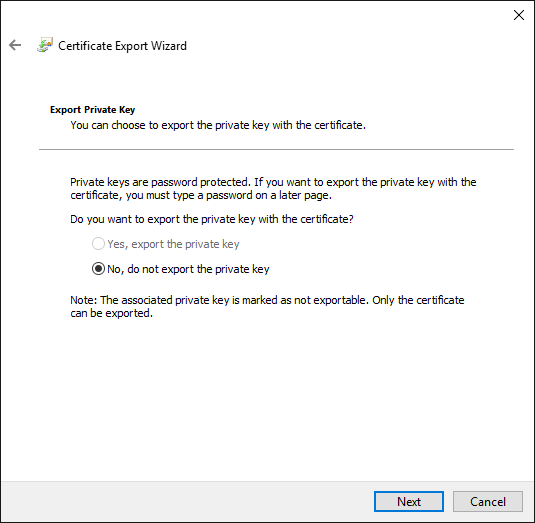
Only one pre-selected option will be available, so click 'Next' again:
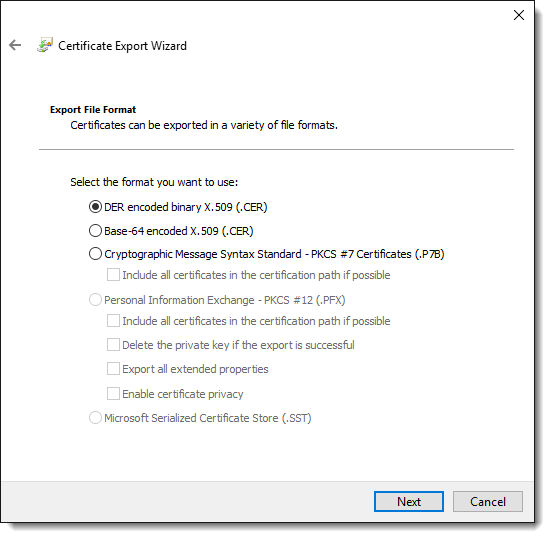
The top item will already be pre-selected. Click Next again and choose a name and location to save the exported certificate.
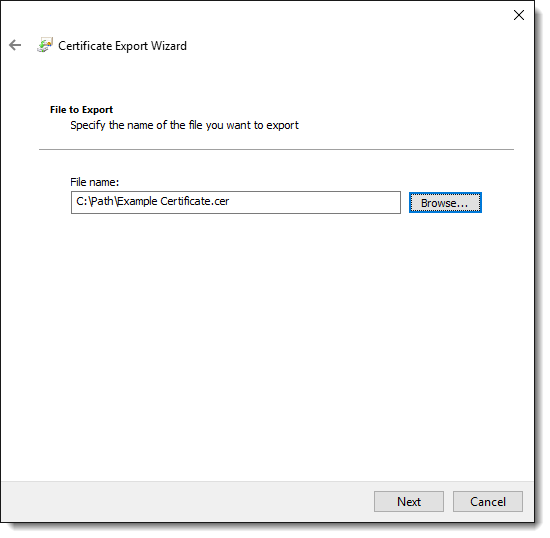
Click 'Next' again to save the certificate
Import the certificate
Focus will now have returned to the Management Console.
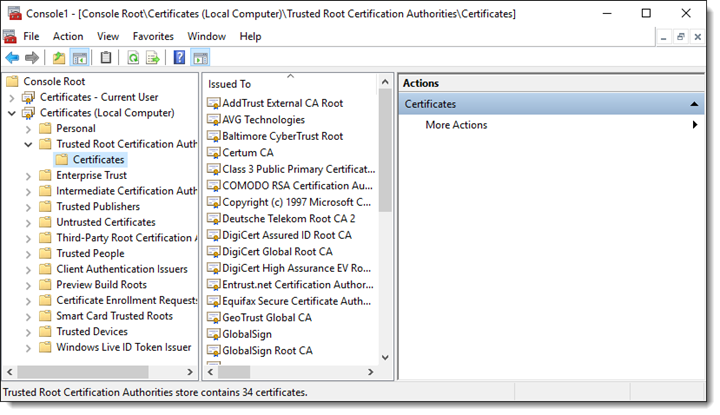
Expand the 'Certificates (Local Computer)' menu and from the 'Trusted Root Certification Authorities' menu, select 'Certificates'.
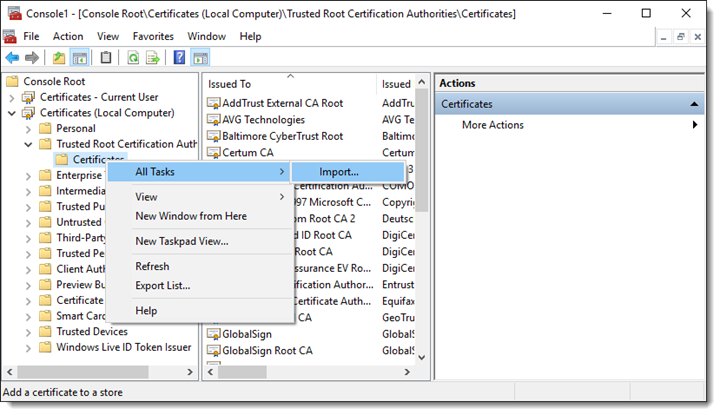
Right click. Select 'All Tasks' and 'Import'
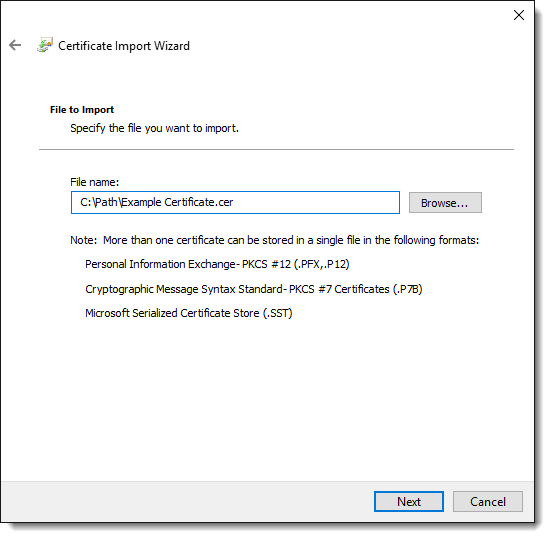
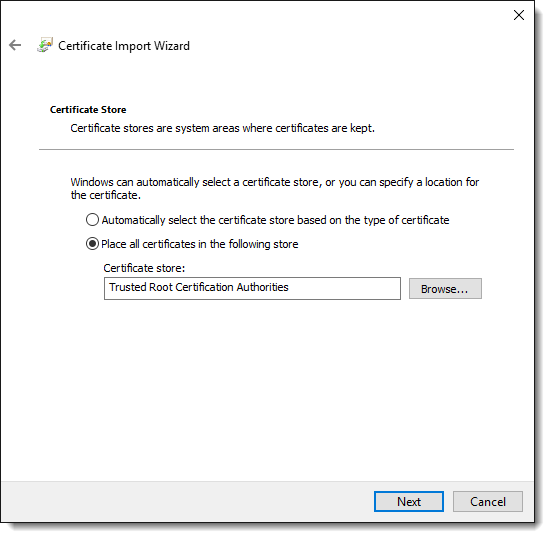
Save to the 'Trusted Root Certification Authorities' store:
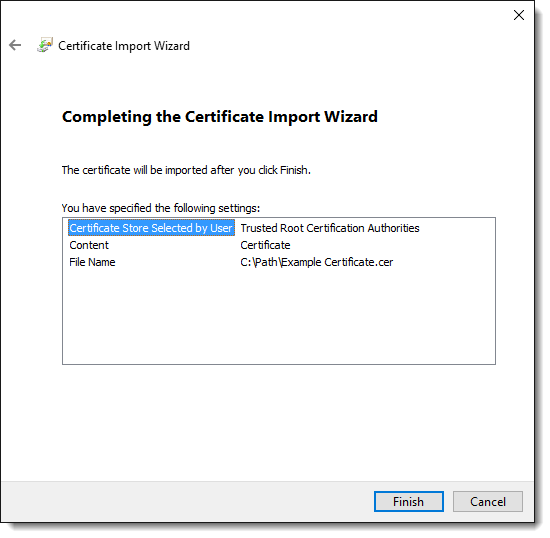
Click 'Next' and you should see the completion notice below:
Before leaving the Management Console, you might wish to consider saving the setup, in case you ever need to repeat the process. Either way you can now close the Console.
Use the certificate
If you now use the certificate and check its properties, you will find that it is now a trusted certificate and you can use it to sign your project: