Graham Mayor
... helping to ease the lives of Microsoft Word users.
 |
 |
 |
Many people access the material from this web site daily. Most just take what they want and run. That's OK, provided they are not selling on the material as their own; however if your productivity gains from the material you have used, a donation from the money you have saved would help to ensure the continued availability of this resource. Click the appropriate button above to access PayPal.
Word photo gallery template
This project features an add-in template for Word 2007 and later, designed to make it easier for a user to include batches of photographs (or other images) in a Word document, and its dialogs are intended to be self-explanatory.
Word 2007 and later provide some useful tools that you can use to insert and format images into your documents. Using these tools is time consuming, especially when you need to insert and format multiple images in a gallery layout. First you have to create a gallery container (e.g. a table) and then you have to insert and format the images one at a time. This add-in is designed to make insertion of batches of photographs as easy as typing the text that will accompany them.
IMPORTANT! - The size of the images, and the
number that will fit on a given page, is determined by the page size
and the distance between the margins. The add-in works on the
principle that (larger) images inserted into a fixed width table
cell will adapt to the width of that cell.
The size of the cells is determined by the width between the left
and right margins. The number of rows that can be presented will
depend on the height between the top and bottom margins. Increase or
reduce the margins to produce the required results. Note that you
may place a section break before and/or after the images to enable
the margin settings to be varied with respect to the rest of the
document's contents.
It may be advantageous to establish what margin settings are
required in a new blank document before inserting the gallery into
the working document. The settings you choose will be retained until
you change them in the application's configuration. Thus once you
have chosen your preferred settings, insertion of galleries is just
a matter of selecting the images to fill it.
The add-in dialog presents US or UK English spellings
according to the page size of the current document. Not all possible
page sizes have been addressed in this manner, but if it proves an
issue, they could be added in a future release.
The images are captioned with their filenames (without the filename extension) with the option of adding numbering and text.
More than one table of images may be included in the same document, and the tables may be replaced, or added to, by re-running the macro function from its ribbon command, with the cursor in the table.
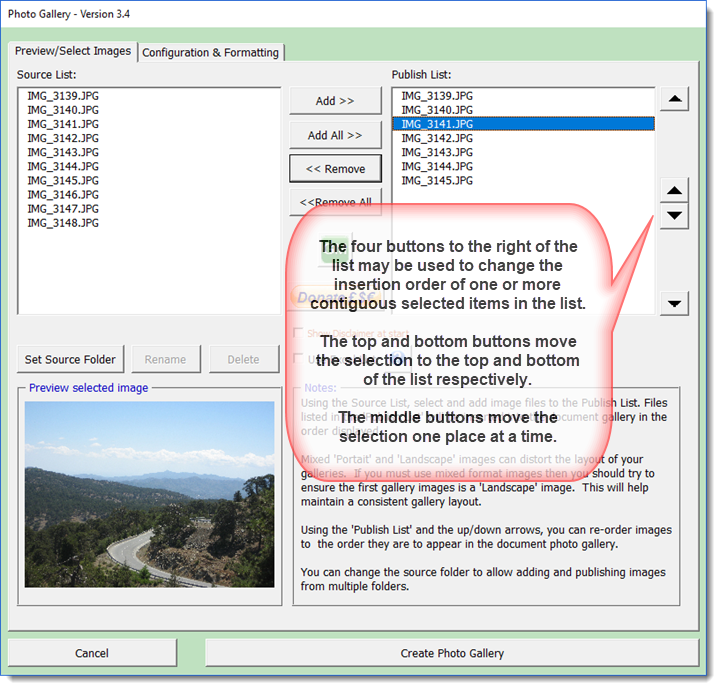
When loaded, the add-in places a button group on the Insert tab of the ribbon, with buttons that provide access to the macro functions contained in the template, for use by documents previously created from the template.
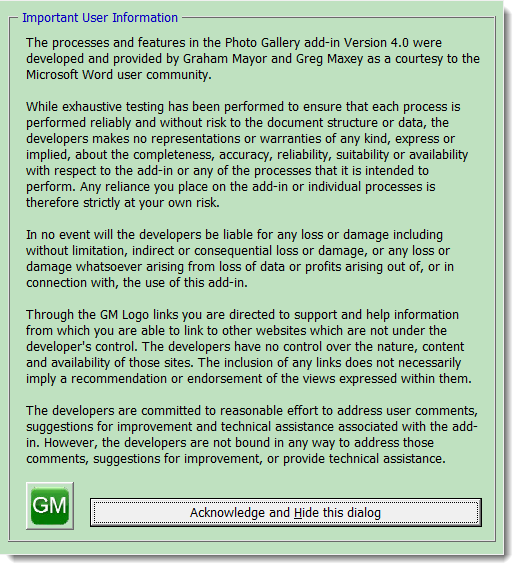
The first time the main function is used (and thereafter if the Show Disclaimer check box is not unchecked) a disclaimer text is displayed.
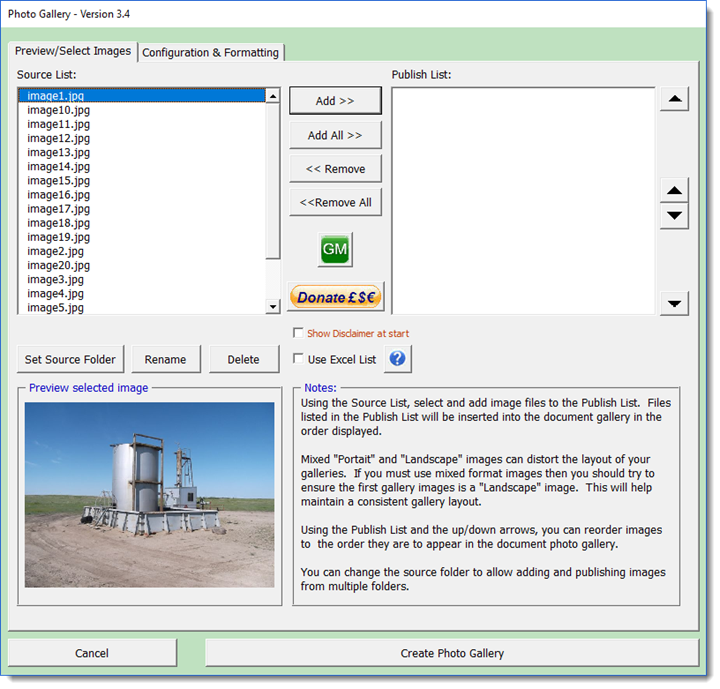
Closing the disclaimer dialog displays the add-in userform interface. The Preview/Select Images page is first displayed. Your first step is to select and define the source folder where your image files are stored.
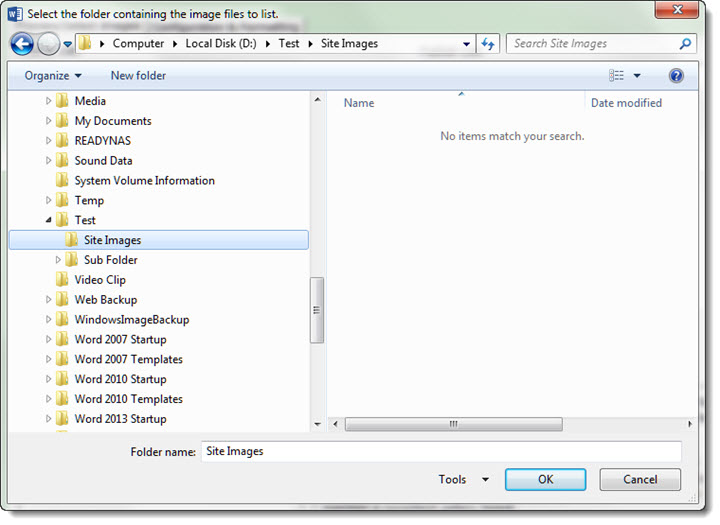
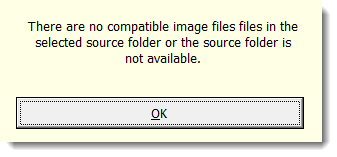
If you select a folder that is not available or does not contain images files, the following dialog is displayed. This same dialog appears if you subsequently remove the device or all images from the device set as your source folder.
Excel list of images
When loading from files, there is no means of adding descriptive caption texts to the images. You can either number them or add a filename, or both. Any further text must be added after processing.
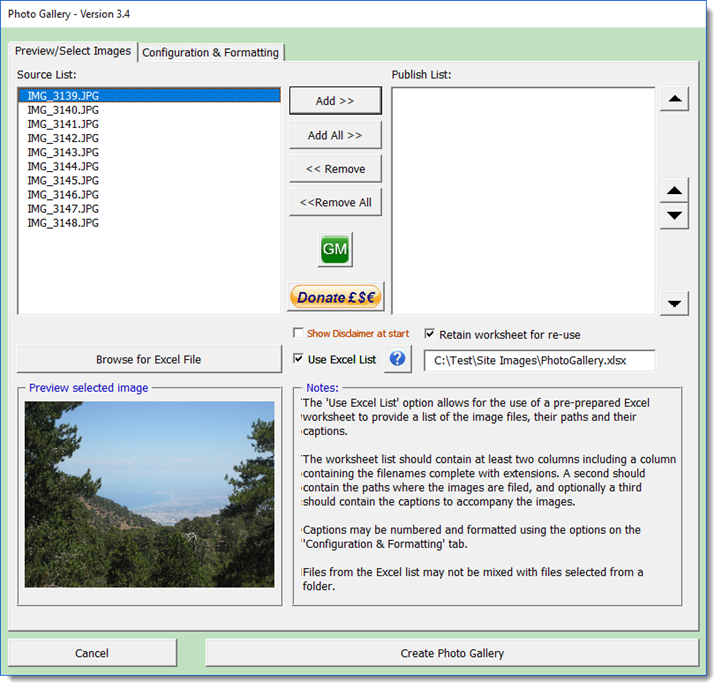
To overcome this limitation, the form will also allow a list of image files and their paths and caption texts to be loaded from a pre-prepared Excel worksheet.
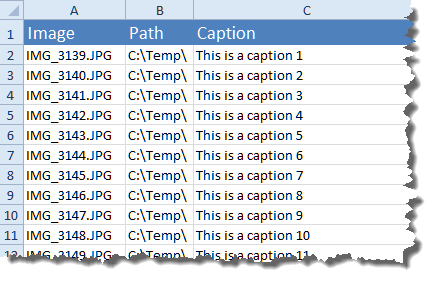
The worksheet must have a minimum of two columns to include a column containing the filenames complete with their extensions; and a column containing the paths to those filenames. Optionally you may have a column containing caption texts to accompany the images. Any other columns in the worksheet are ignored for the purposes of this add-in.
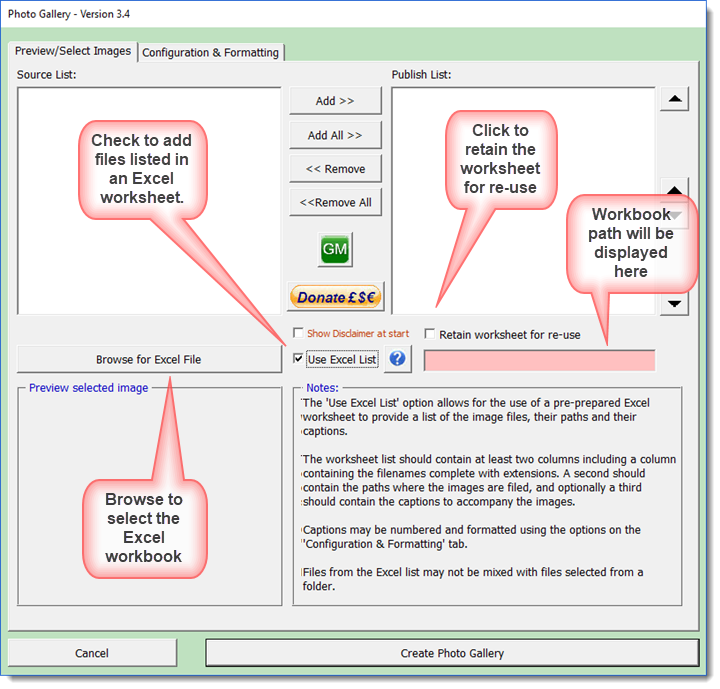
The Excel option is selected by clicking the 'Use Excel List' check box, which removes the row of buttons under the file list window and replaces them with a button to select the Excel file.
Images from Excel lists and from folder selections may not be mixed in the same gallery. Similarly, because worksheets may have different column configurations, multiple Excel lists may not be applied to the same gallery. Selecting the 'Use Excel List' check box option, or the 'Browse for Excel File' button, clears both lists. Such lists may however be appended to an existing gallery by running the process again and selecting the Append option.
Having selected an Excel workbook, the following dialog opens to allow the selection of the worksheet, filename field, path field and optionally the caption field. Selection of the worksheet loads the remaining elements with the fields contained in the selected sheet:
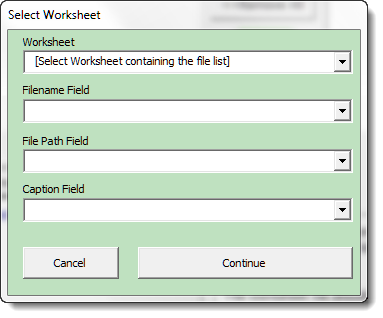
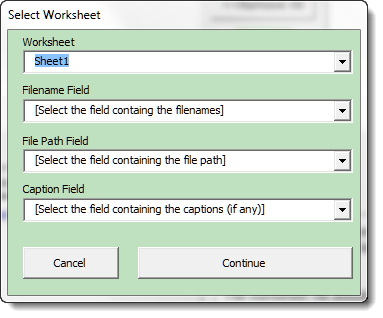

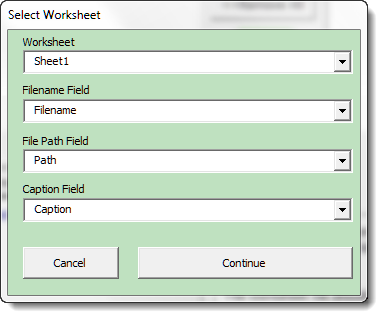
Click Continue to load the worksheet into the main dialog.
When using an Excel worksheet it is possible that dues to a typographical error or a referenced file has been moved, the listed files may not be available to be loaded from the filing system. Where this occurs while viewing the files, a message is displayed in the image window of the user form:
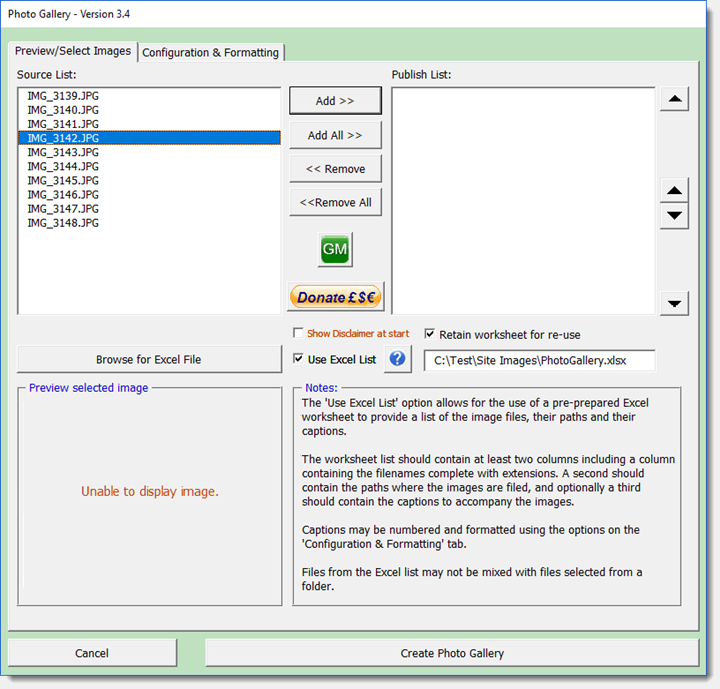

If such an entry is transferred to the pprint list for inclusion in the gallery, upon attempting to insert the image an error message is presented with a choice of options:
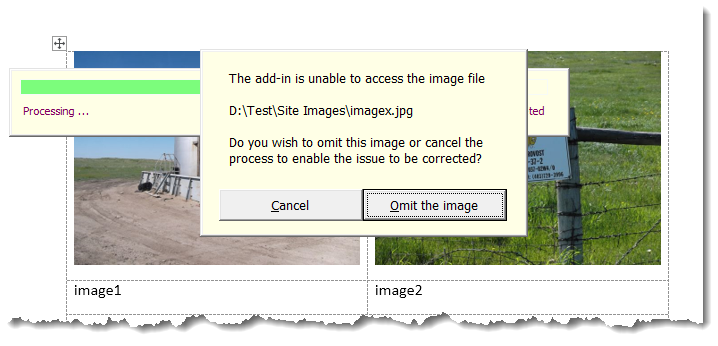
If you choose omit a space is left for the image and the process will continue with the next available image.
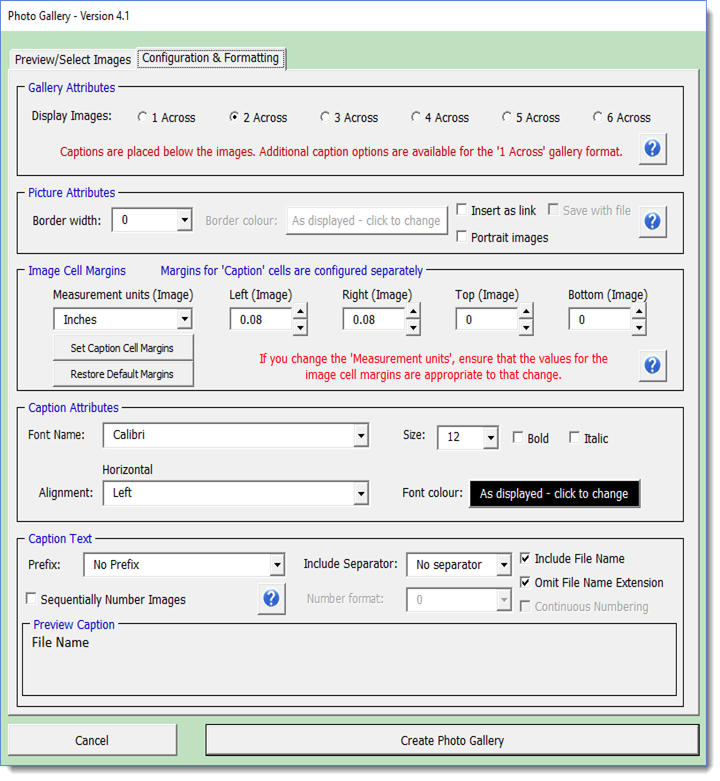
The add-in will create a document table using its
configured settings. When using it for the first time, take a moment
to review the default settings on the configuration page and make
any changes to taste. If you don't like the results, put the cursor
in the table and re-run the macro, choosing the option to replace
the table. You can then make changes as required.
Changes you make to the configuration will become the default
settings, until changed again.

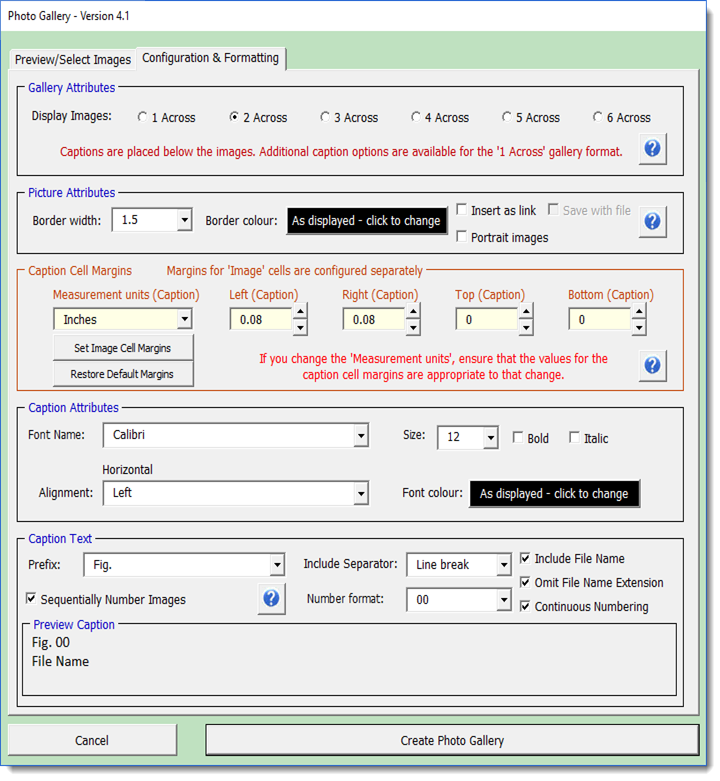
The cell margins should not need to be
changed from the default settings, which apply to all cells, but if you wish for a little
extra white space around the images and/or the captions, you may change the margins and
your preference will be retained.
Note that the margin changes are applied separately to the cells holding
the images and the cells holding the captions and those values are
stored for re-use until changed or reset to defaults.
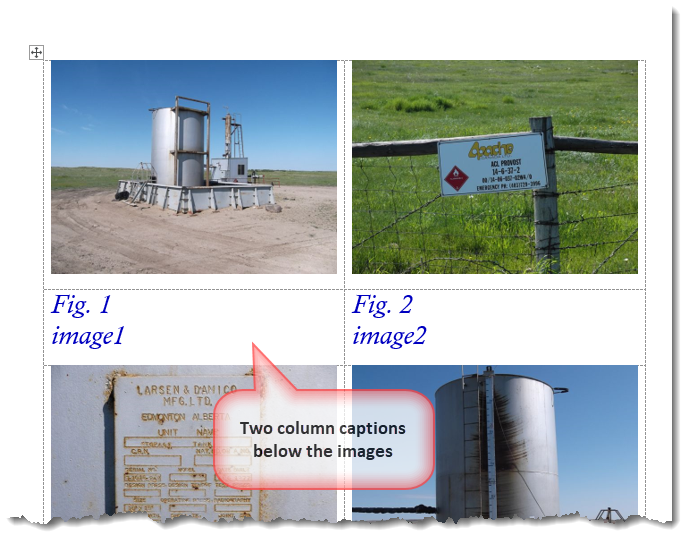
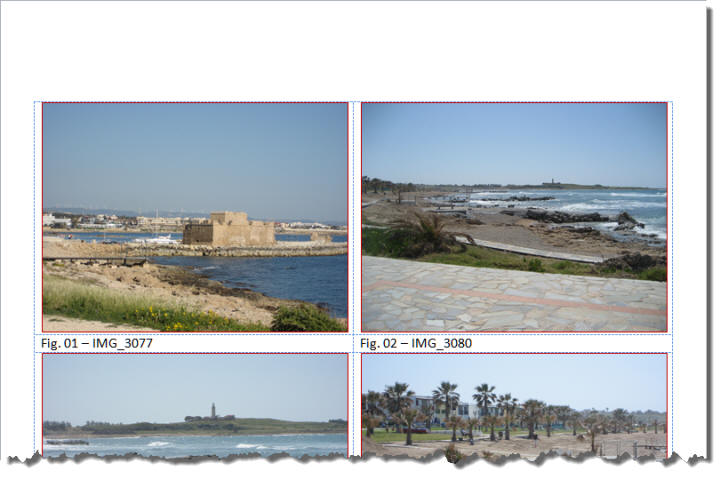
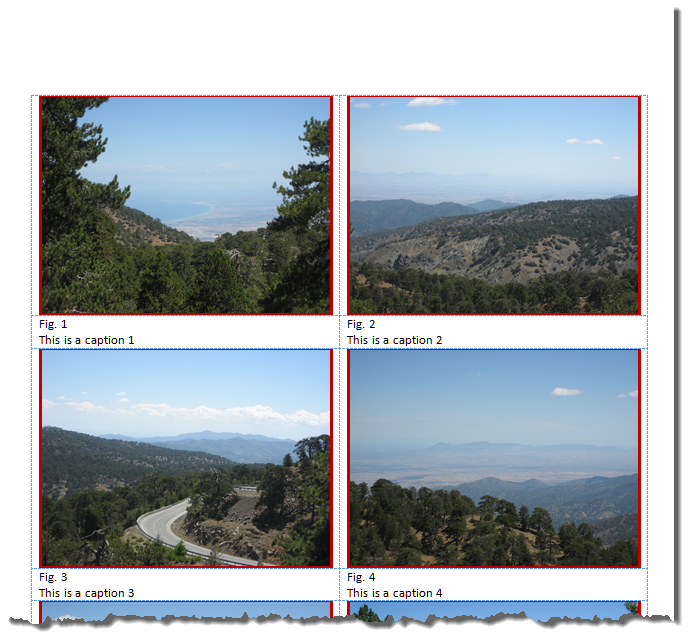
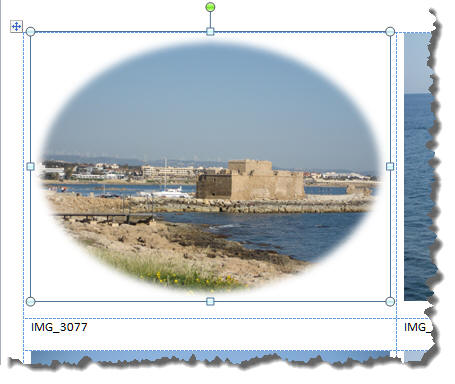
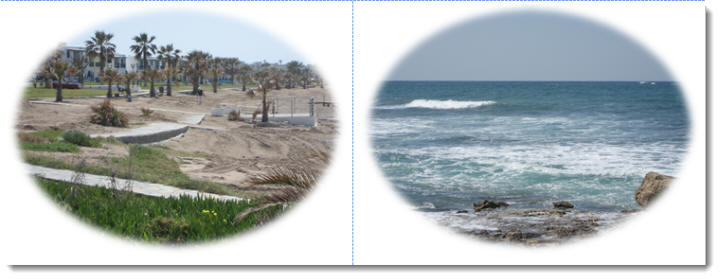
The pre-configured font sizes in the dropdown include a range of popular font sizes, however you can type your own font preference in the combo box and that value will be retained for re-use. In the following illustrations, which show some of the layouts available, I have used a 20 point font, which is not listed.
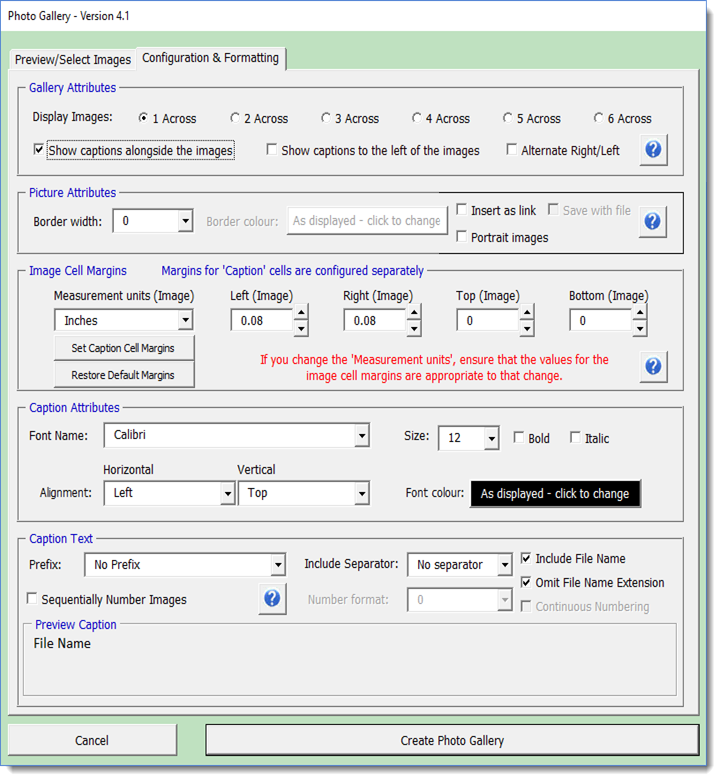
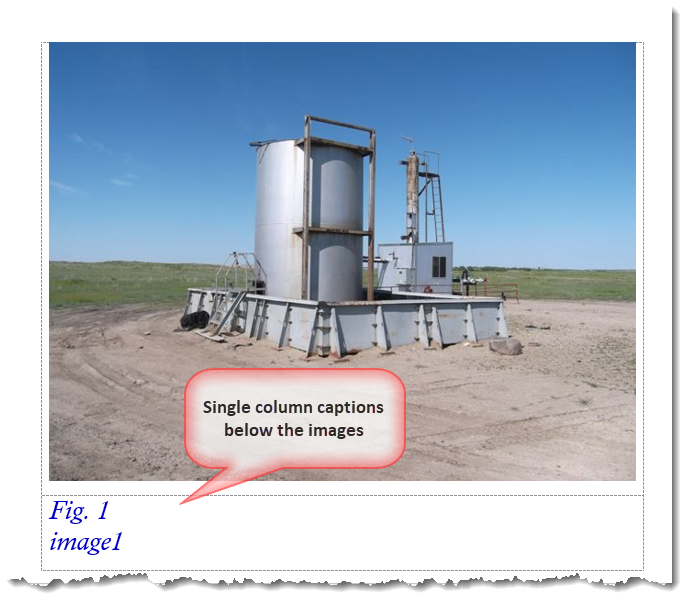
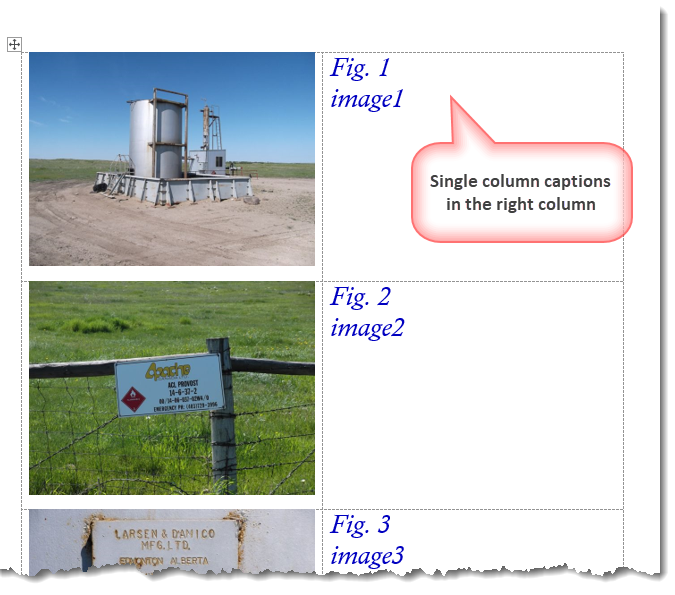
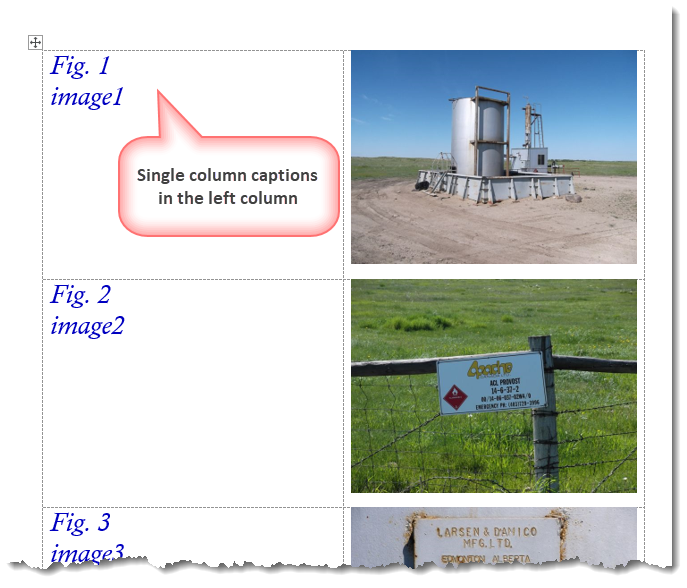
The first of the illustrations below demonstrates 2 columns. The four others demonstrate the various options associated with a single column selection.

Modern digital cameras produce huge images
both in dimensions and file size. Such large sizes are neither
necessary nor desirable when reproducing them in a
Word document. The process can therefore be accelerated, and the
document made more stable, by shrinking the images. There are plenty
of software products, which will shrink the images to more manageable
proportions in a batch process.
I personally prefer SnagIt from
https://www.techsmith.com/screen-capture.html which is an
excellent piece of software and used throughout this site to produce
the images and annotations, many of which, including those that show
the Gallery's main dialogs, have been shrunk slightly to fit the web
page format.
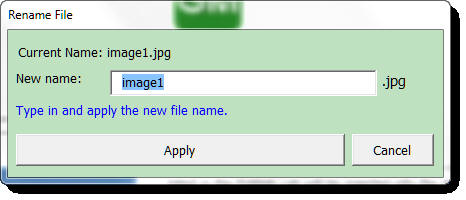
The add-in provides the opportunity to delete and rename the files used by the add-in. The changes are reflected in the add-in dialog, but are also applied to the source files.
Such functions are normally better applied through Windows Explorer but they have been provided here for convenience, especially in the case of the rename function as the name is reflected in the image captions.
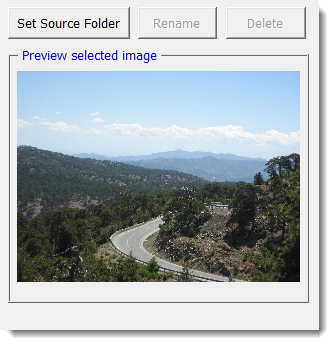
CAUTION: The "Rename" and "Delete"
buttons, shown in the previous illustration, rename and delete files both in the Source and Publish lists
AND the source folder containing the images files. In the case
of the Delete function. This is PERMANENT!!!
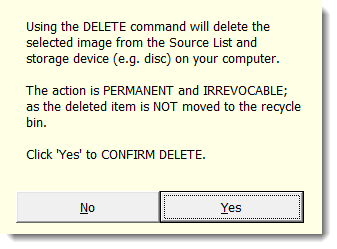
Considering the deletion is irrevocable, we have added a
confirmation dialog shown below. You can suppress the dialog
during your current session using the add-in, but it is reset to
display automatically when you start a new session.
The finished result, depending on the configuration choices, will look something like that below.
Each image will be given a unique bookmark
named in the format "TableA_ImageB_C" where A is the number of the
table, B the number of the image and C the number of times the
function has been run in that document. The latter is stored in
a document variable named 'varRun'.
The bookmarks could be used, for example, to create hyperlinks
to the images from text in the document.
Where captions are included from an Excel file. If numbering and or filenames are including the added caption text is placed following a line break.
The images are automatically sized to fit the Word table (gallery) created by the add-in.
Factors that determine the exact size of the gallery images are too numerous to try to handle
in a general add-in.
Here are a few tips that you may employ when creating galleries:
You can achieve the most consistent gallery layout if the images you use are either all portrait or all landscape layout.
If you use a mixed layout, you may prefer the results when the first gallery image is a landscape image. This is due to the fact that the first image sets the height of the gallery row.
The gallery width, and accordingly the height and width of the gallery images, is determined by the document margins. If you want images to be larger and spread across a larger area of the page, you can insert a section break and apply narrower margins for that section.
Inserting and sizing the images to
the gallery is a complex process. Hardly noticeable with just a
few images, inserting large numbers of images can take several
minutes and Word may even appear to freeze momentarily as the
process is executed. We have intentionally let the processing be
visible so you won't give up hope!
The add-in can be used repeatedly in your document to create
additional galleries or append/replace existing galleries.
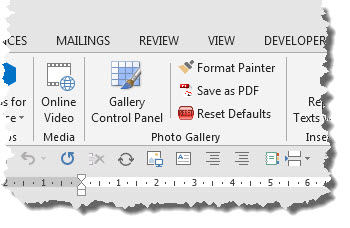
Auxiliary functions
There are three auxiliary functions in the add-in's ribbon group.
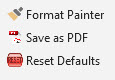
Format Painter
Format Painter is a tool for applying advanced picture formatting to galleries, that cannot be applied via the application's configuration dialog, and is used after the gallery has been created in the document.
Select the first image in the set and the Word Picture Tools tab becomes available.
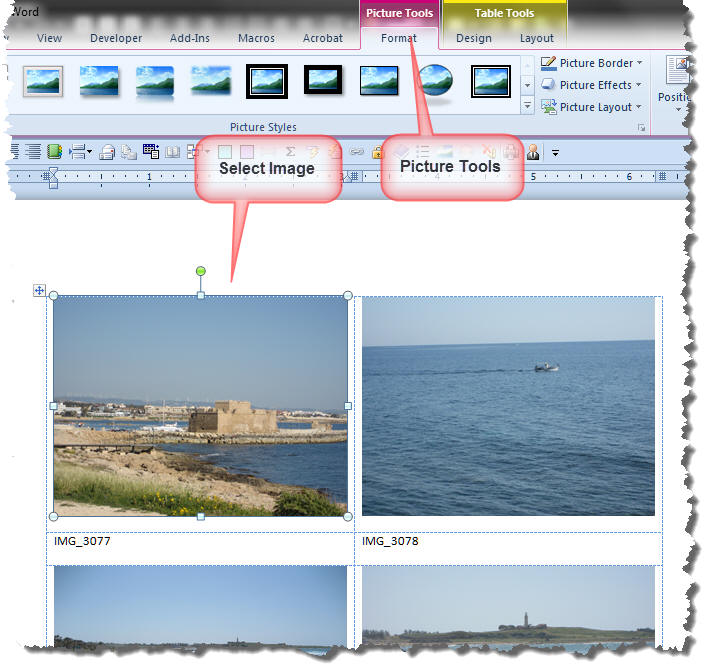
Apply the preferred setting.
Note that not all settings may lend themselves readily to the image size in the table cell. If the required effect does not fit, alter the size of the image with your mouse to fit the space available.
You can also apply manually formatting to the first image using Word's built-in picture formatting tools and copy your formatting to the remaining images with the Format Painter.
Click the Auto Paint Format button to apply the changes to the remaining images. Note that this may take a while to process.
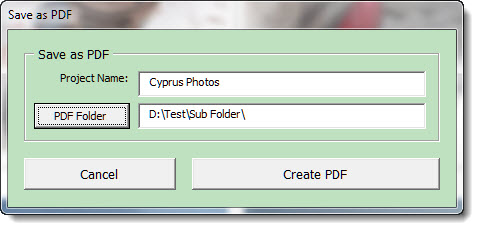
Save as PDF
The Save as PDF control launches the following dialog you can use to save your documents with galleries as a PDF project. This is merely a supplement to Word's built-in Save as PDF function and its presence here is largely a hangover from the original document template on which this add-in was based. We decided to leave it for user convenience.
Reset Defaults
As its name implies, this command deletes the stored preferences. The various parameters used by the add-in are stored in document variables in the add-in template itself (from version 2.6 the parameters are stored in the registry). This command deletes all those stored parameters.
This should only be required to fix an unexpected fault condition as changing any setting will update the variable/registry entry that stores the setting.
 - Now download the template.
Photo galleries
This add-in began life as a template project for a private client, who had a requirement to produce batches of photographs in PDF format, to accompany the reports that the company created in connection with its business.
The add-in featured on this page has been developed to provide more flexibility for the user to include batches of images with or in documents, and incorporates some suggestions for improvement from my old friend and frequent collaborator Greg Maxey, who has echoed this work on his web site.
The version there is operationally identical to that here, but there are some small differences in presentation to reflect our individual preferences.
The add-in could be useful to businesses such as engineers or estate agents that produce batches of photographs to illustrate their wares.