Graham Mayor
... helping to ease the lives of Microsoft Word users.
 |
 |
 |
Many people access the material from this web site daily. Most just take what they want and run. That's OK, provided they are not selling on the material as their own; however if your productivity gains from the material you have used, a donation from the money you have saved would help to ensure the continued availability of this resource. Click the appropriate button above to access PayPal.
Create a perpetual year or month calendar
The function began life as a solution to a user query about changing the dates on a Microsoft template, but quickly changed direction to become the following.
Extract the template from the zip file to the Word Startup folder.
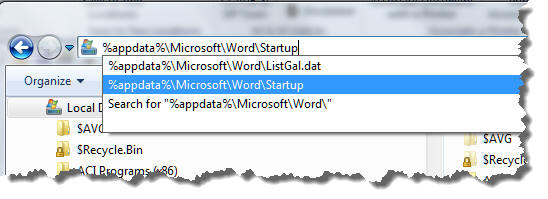
The default startup folder location can be quickly located (in
English language versions of Windows), by typing
%appdata%\Microsoft\Word\Startup
in the address bar of Windows Explorer. The illustrations below are for Windows 7, but earlier versions are similar.
If you have changed the startup folder from Word Options > Advanced > File Locations then use the
changed address (and set the changed address as a trusted location.
The original startup folder is trusted by default).
If, on running the macros, you see an error message - Compile error in hidden module - then it is likely that you have a missing, misplaced, or unregistered calendar component in Windows. This is especially likely in Windows 7 64 bit operating systems. That being the case download the missing component and instructions for its use.

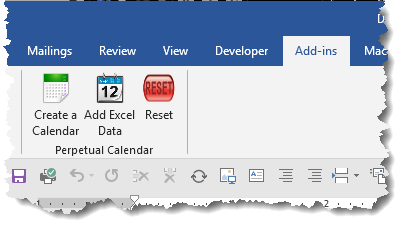
The add-in adds a button to the Add-ins tab of the ribbon as follows. The zip file also includes a self extracting installer, should you prefer to automate the installation, and a set of workbooks containing holiday information that you may use or edit.
Clicking the 'Create a Calendar' button opens the following dialog, the functions of which are self evident. The calendar allows the selection of any year from five years before the current year to ten years following the current year.
The first time the adds-in is run, the Calendar Configuration dialog is also displayed. This provides options to set page size, language and the colouring of the calendars. Subsequent uses hide the Configuration panel
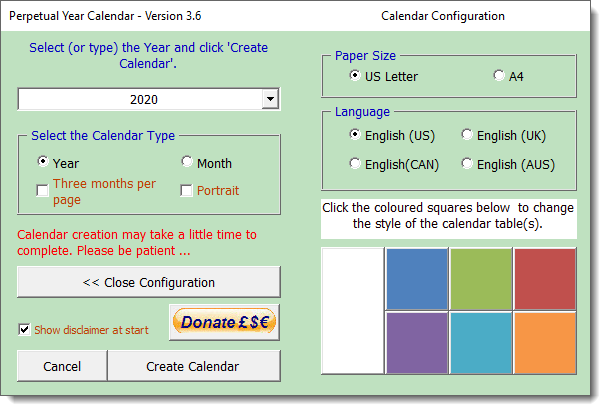
The currently select colour is indicated by the background colour of the text above the squares - white by default as above and blue in the illustration below.
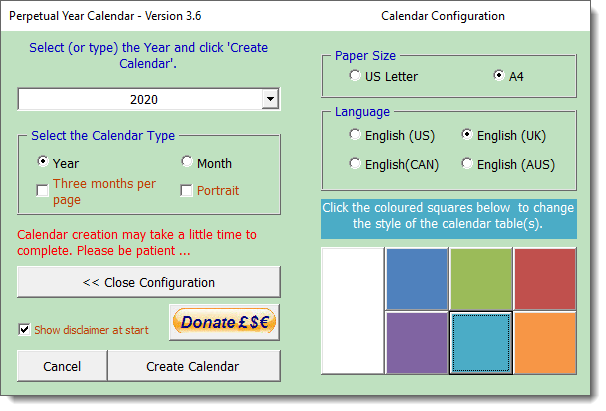
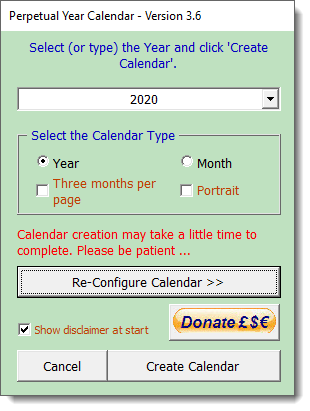
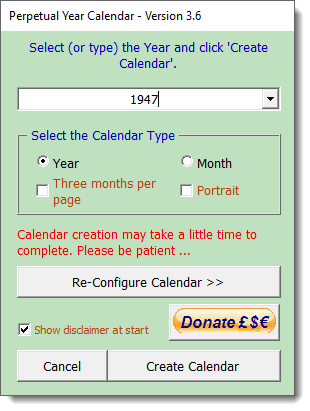
For years outside the range of the drop down selector, simply type the year in the box.
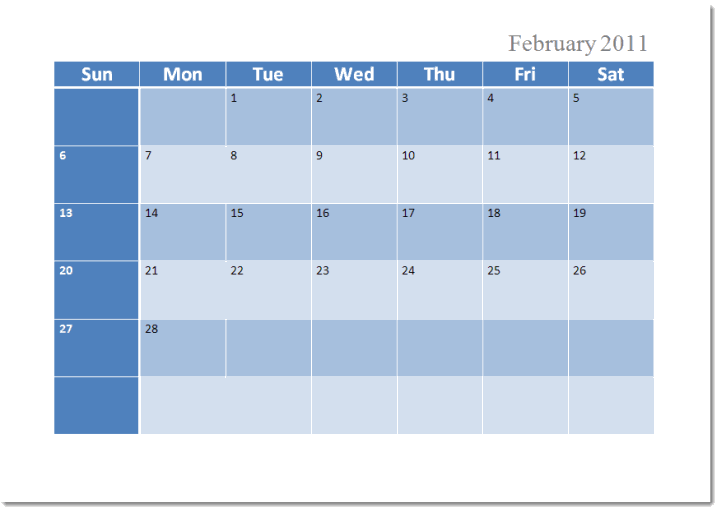
Click 'Create Calendar' to create a calendar with each month to a page :
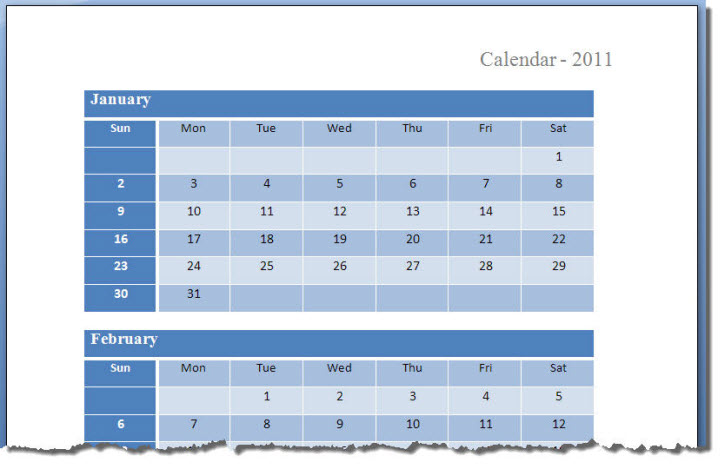
By checking the 'Small format calendar' check box the add-in will create calendars with three months to a page:
Create a perpetual one month calendar
Check the Month option and the dialog changes as follows. The current month and year are selected by default, but you can choose any month from five years before the current year to ten years after. As with the year calendar, years outside the range of the selector can be typed into the box.
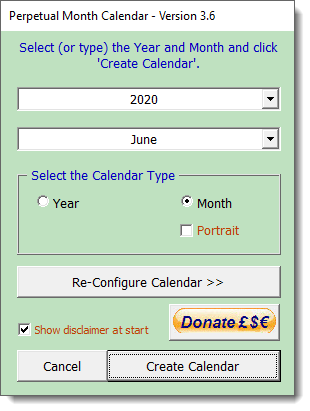
Click 'Next' and a calendar for the selected month and year is produced as follows.
By default the calendars are produced in Landscape orientation. Checking Portrait mode (not available for 3 months to a page) produces the calendars in portrait mode.

Add Data from an Excel worksheet.
Prompted by a user's question in a Microsoft forum, who wanted to list his groups' birthdays in a calendar, I thought it might be a good idea to include an option to add birthdays or other data to a month calendar or large format year calendar created by the Create Calendar process.
The process detects whether the active document is a valid month or year calendar (or incompatible) and processes (or not) accordingly.
To use the function, it is necessary to create and save an Excel worksheet, containing at least two columns with a header row. The first column of the table will contain the date. The second column will contain text associated with the date. Any other columns are not used.
Sort the dates on the date column for speed. The illustrations below are from worksheets included in the zip file linked at the end of this page.
While the original concept was to add the
names of people whose birthdays occurred on a particular date
any text can be added, for example holidays. The only proviso is
the relatively small amount of space available for text.
The zip file includes an assortment of
Excel workbooks containing holiday data, and a list of US
Presidents and Vice Presidents. The process
adds only unique data to the calendar on a particular date, to avoid duplicate entries if
the process is run repeatedly, or if a second data file contains
some identical information. The operative word here is
'identical' as the check is case sensitive.
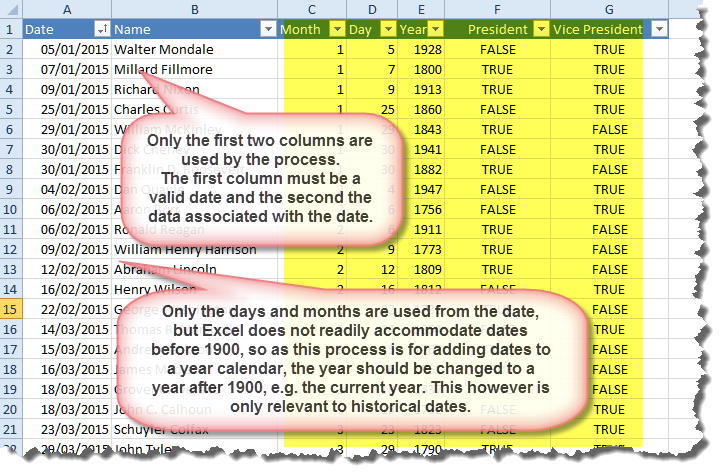
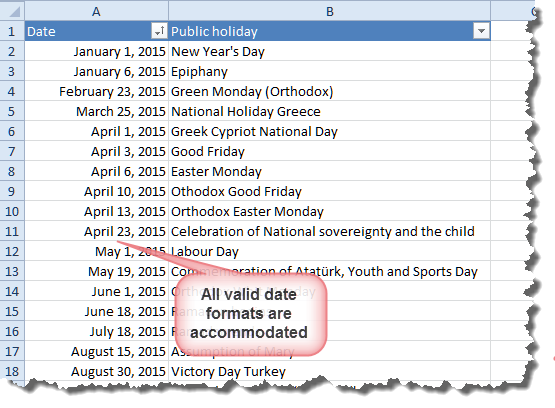
On running the process the user will be presented with a userform from which the Excel data file and the worksheet that contains the data must be selected. The add-in provides some basic error handling to ensure that the format is valid, before inserting the data against the appropriate dates, but it can be fooled, resulting in an error condition that is trapped with a warning message.
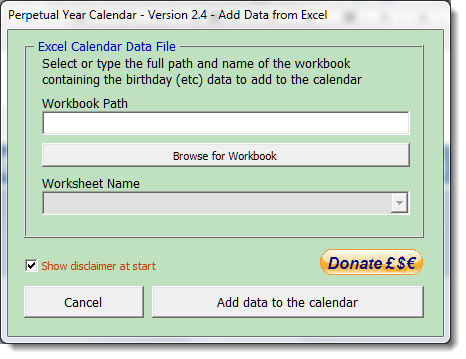
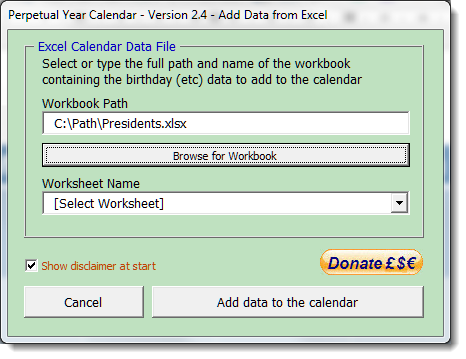
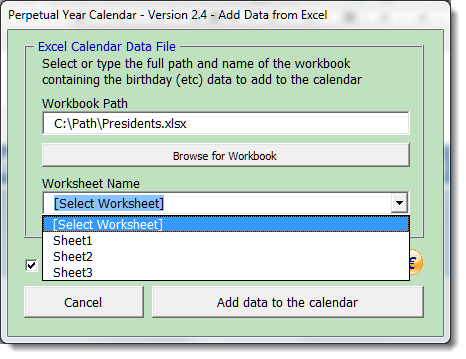
Select the worksheet and click Add data to the calendar. Names inserted are separated by a comma and a space (see for example the 30th January in the following illustration).
Note that the table cells are fixed in size, data that will not fit in the available space will not be displayed.

 - Click here to download the add-in.
Create Calendars
This page features an add-in solution for creating perpetual year calendars, three months to a page; and month calendars, one month to a page, for Microsoft Word 2007 and 2010 (not the 64 bit version of Word 2010).
Alongside the calendar function is a separate process to add data from an Excel worksheet to the calendar, for birthdays, holidays etc.