Graham Mayor
... helping to ease the lives of Microsoft Word users.
 |
 |
 |
Many people access the material from this web site daily. Most just take what they want and run. That's OK, provided they are not selling on the material as their own; however if your productivity gains from the material you have used, a donation from the money you have saved would help to ensure the continued availability of this resource. Click the appropriate button above to access PayPal.
Insert Bar Code add-in for Word 2013 and later
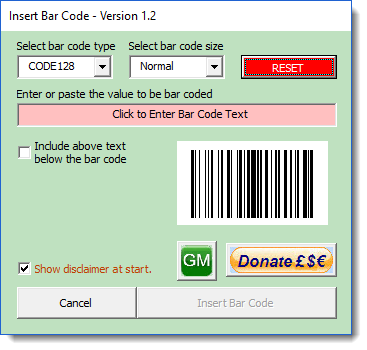
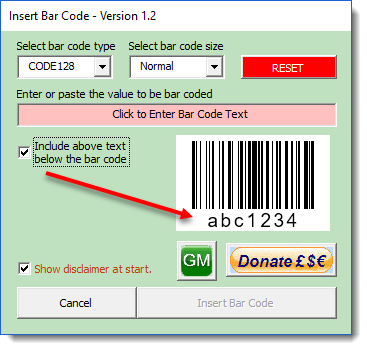
Thanks to a little know pair of fields, introduced in Word version 2013 and retained for later versions, it is possible to insert bar codes in documents. These fields DISPLAYBARCODE and MERGEBARCODE are documented on Microsoft's web site, but the syntax is a tad tortuous and so I have produced the add-in featured here to complete that syntax based on a few selected pieces of information.
The two fields are, as their names suggest, available to insert a bar code and to merge a barcode. To cater for the latter, the add-in's merge options are only available when the active document is a mailmerge document.
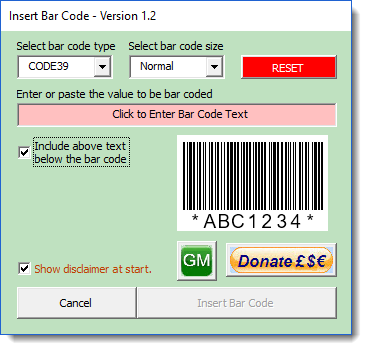
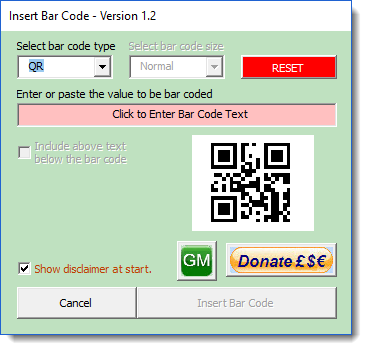
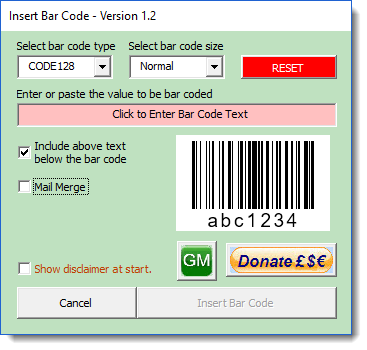
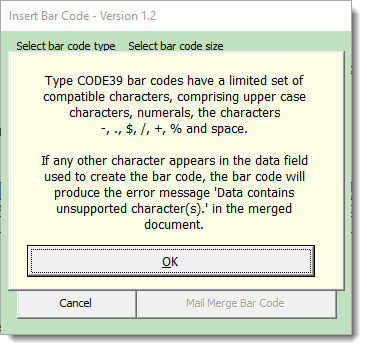
The add-in provides the ability to insert the three most popular types of bar code. They are the CODE128 bar code, which is perhaps the most widely used and versatile, the CODE39 which has a more limited use and the two dimensional QR which can be read using a phone app.
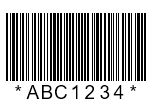
I don't propose documenting the codes themselves as this is well covered on line. The only issue of relevance is that the CODE39 employs a start and stop code signified by a an asterisk at each end of the code. This is inserted by the add-in so any attempt to add the asterisk to the text to be coded will result in an error message. Similarly CODE39 has a limited character set compatibility so only permitted characters are allowed to be entered.
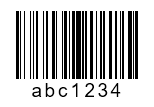
From left to right below we have CODE128, CODE39 and QR respectively.

Using the add-in
Mail Merge Options
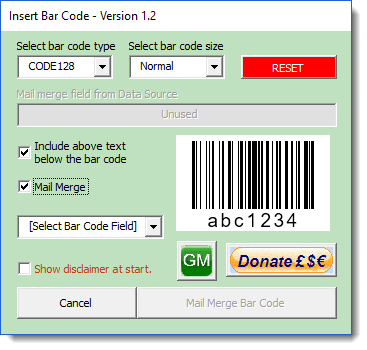
The merge options only appear when the active document is a mail merge document and may only be selected when that document is attached to a merge data source.
To use a mergefield from the data source check the Mail Merge checkbox. A combo box containing the field data will appear. Select the field that contains the barcode data.
If the check box is unchecked a fixed barcode applicable to all the merged documents may be added.
In the case of CODE39, do not include the asterisk start and stop codes '*' in the data source as these are added by the process, and if present in the data will produce an error message and not a bar code when merged.
Replace Text in a Document with a Bar Code
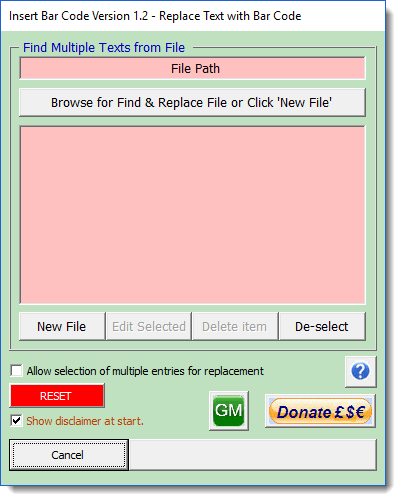
Based very loosely on some processes I prepared for my Content Controls Tools add-in, I thought it might be useful to include an option to replace text in a document with its bar coded equivalent. The texts are stored in a text file which the add-in will create and items in that file are listed in the dialog shown below. The insertion process used is the same as that used for inserting a single bar code as featured above.
The process can be used to replace any text or texts selected in the list and those texts can include Word's wildcard options.
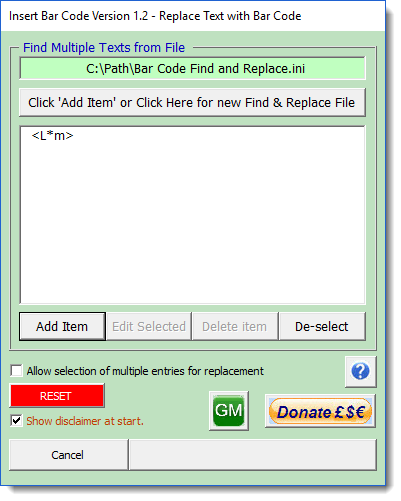
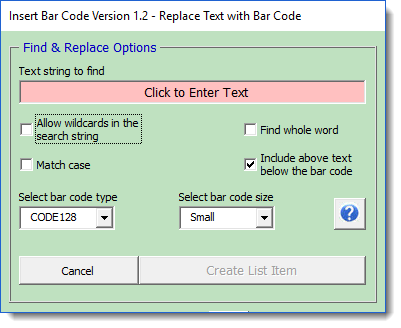
The first time the process is used, the process begins with the following dialog displayed. The items shown in pink all must be addressed.
Click New File, below the large list box and the dialog changes as follows:

Browse and select the folder in which you wish to create the data text file on the local drive (by default this will be the Word startup folder that contains the add-in), and type a filename in the box marked 'File Name'. The text typed into this box is validated for illegal filename characters and the extension '.ini' is added. The filename validation will not actually allow you to add an extension to the filename.
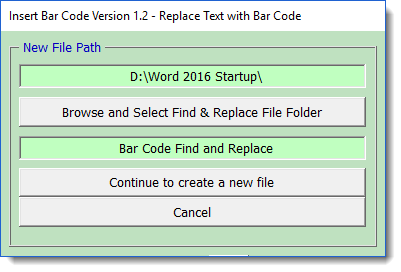
Click 'Continue to create a new file' and the dialog changes to allow you to enter details of the first text to find and replace with a bar code.
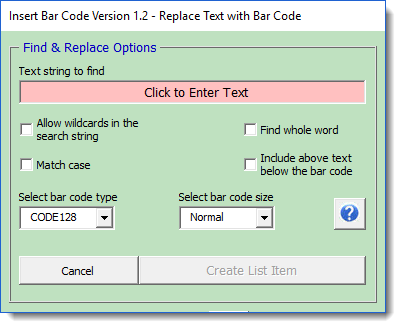
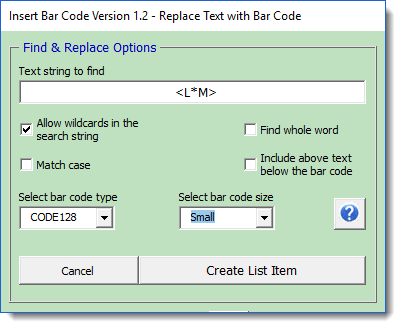
In the previous illustration, I have shown a wildcard text and to employ a wildcard search I have checked the box to 'Allow wildcards in the search string'. If this box is not checked, the text string is treated as literal text.
When satisfied with your selected options click Create List Item. (Note you can edit the item later if it is not exactly what you require). The dialog reverts to the original opening dialog but with the values created added
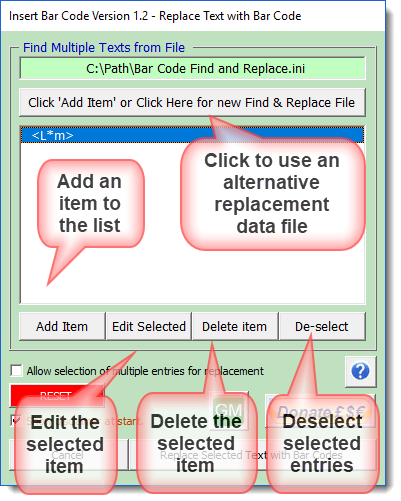
The dialog button texts and their availability are context sensitive. Select the item in the list and the dialog changes as follows and the button to replace the text with the type of barcode appropriate to that text becomes available:

If you have an item selected and you click 'Edit Selected' the following dialog opens and you may make changes to the item. (The dialog has been shrunk to fit the format of the web page, and its elements are the same size as similar elements shown above).
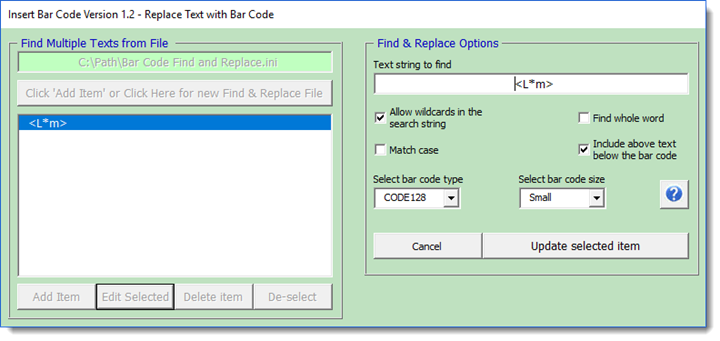
Click Add Item and the following dialog is displayed. It is essentially similar to the initial item selector and the 'Edit Selected' dialog component above, here at full size:
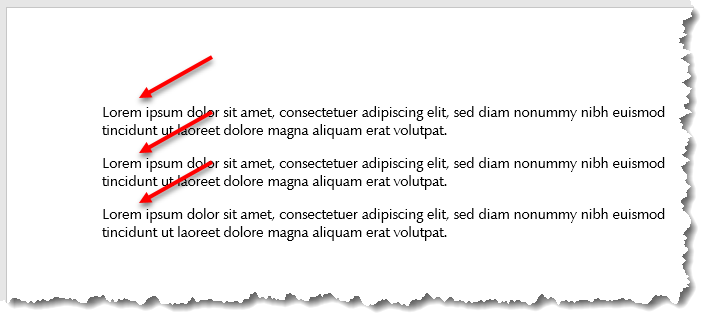
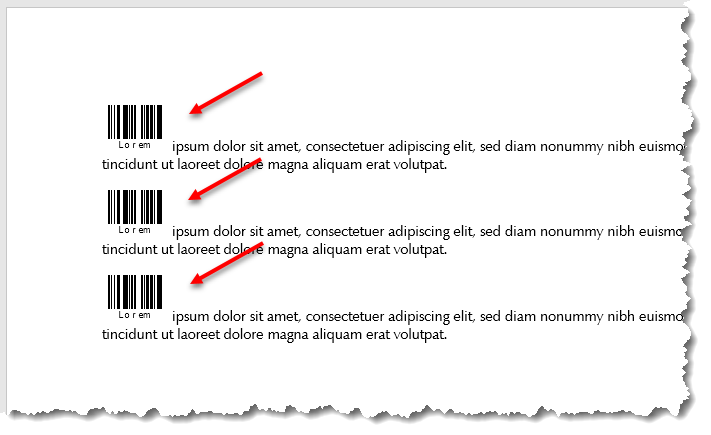
The very simple illustrations shown below demonstrate of the process of replacing the text employing the examples shown above.
 Click here to download the add-in
Insert Bar Code
This page features a simple add-in to help users round the syntax for inserting the DISPLAYBARCODE and MERGEBARCODE fields introduced in Word 2013.